To Beat or to Nudge and What About Wet Finishing?
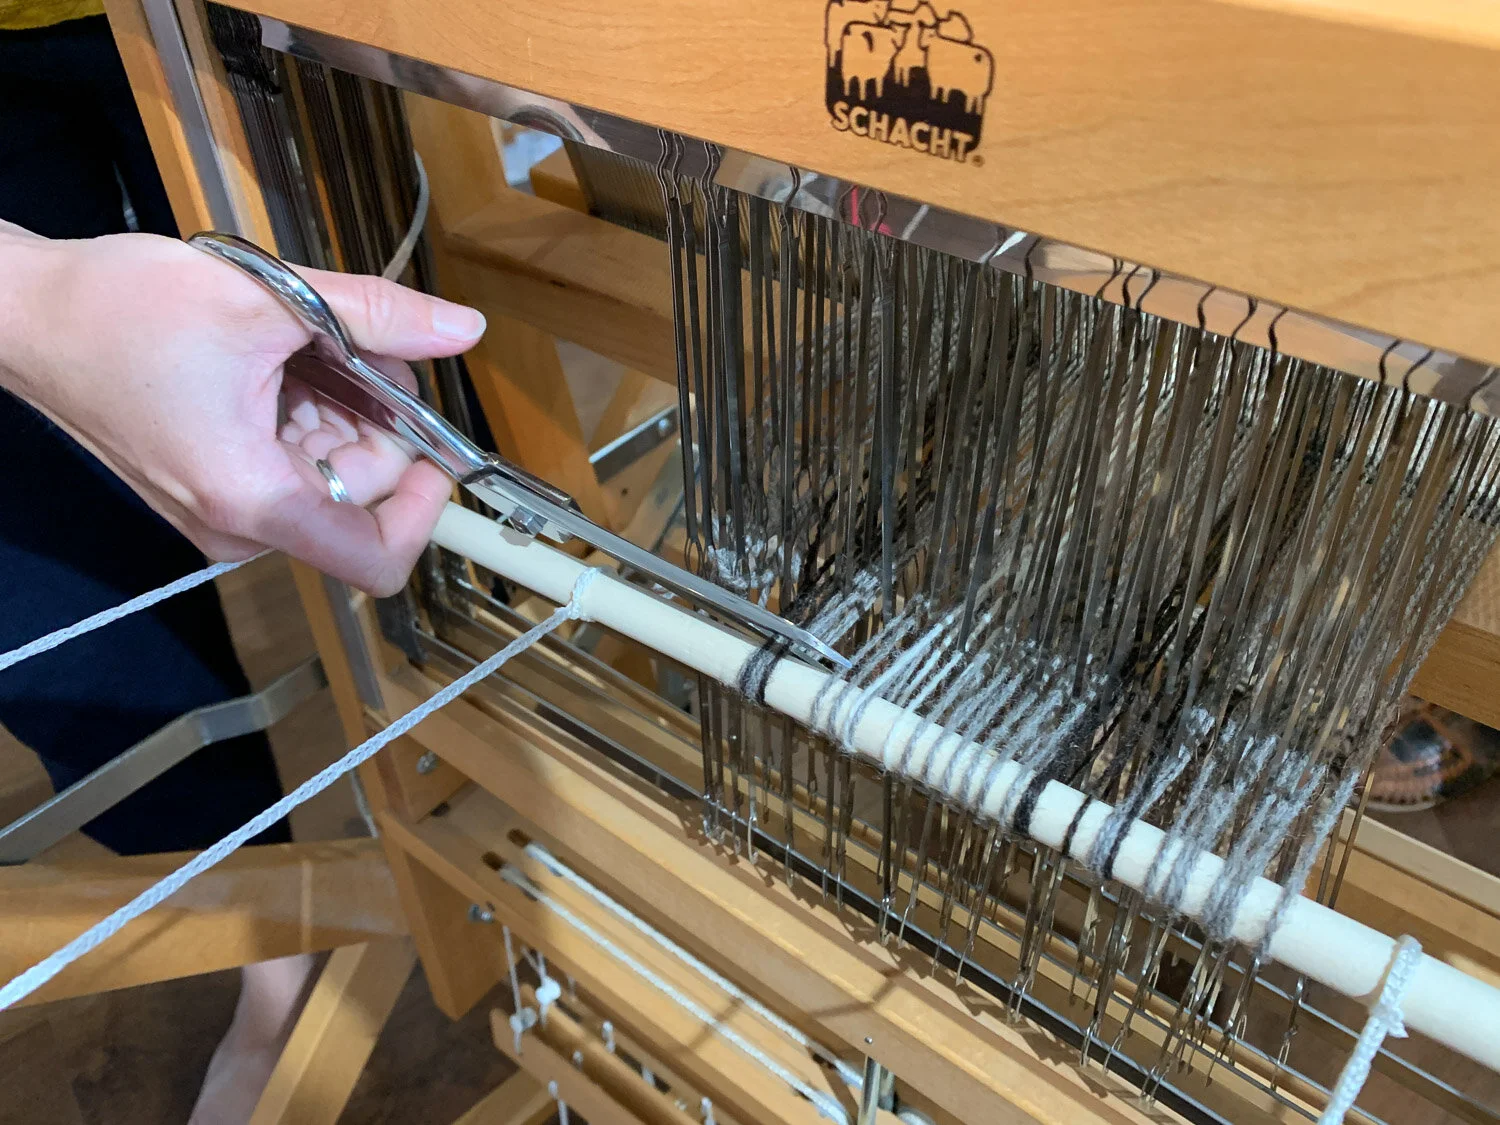
I taught a short weaving workshop today as part of Sacramento Weavers’ Mini-Workshop meeting. The topic was Clasped Warp and all seven participants finished warping their rigid heddle looms. The time didn’t allow for weaving, but the goal of the workshop was to teach this warping technique, and everyone knew that they’d have to do the weaving later at home.

This blog post is going to serve as a follow-up to the workshop after I fielded a question from one of the participants about why the warp isn’t visible after she started weaving. The point of a clasped warp is that you will see that design in the finished piece. I can tell already that this blog post is going to be too long and I’ll do another with clasped warp photos. This post is about how different cloth looks on the loom and after wet finishing. And it is about Beat.

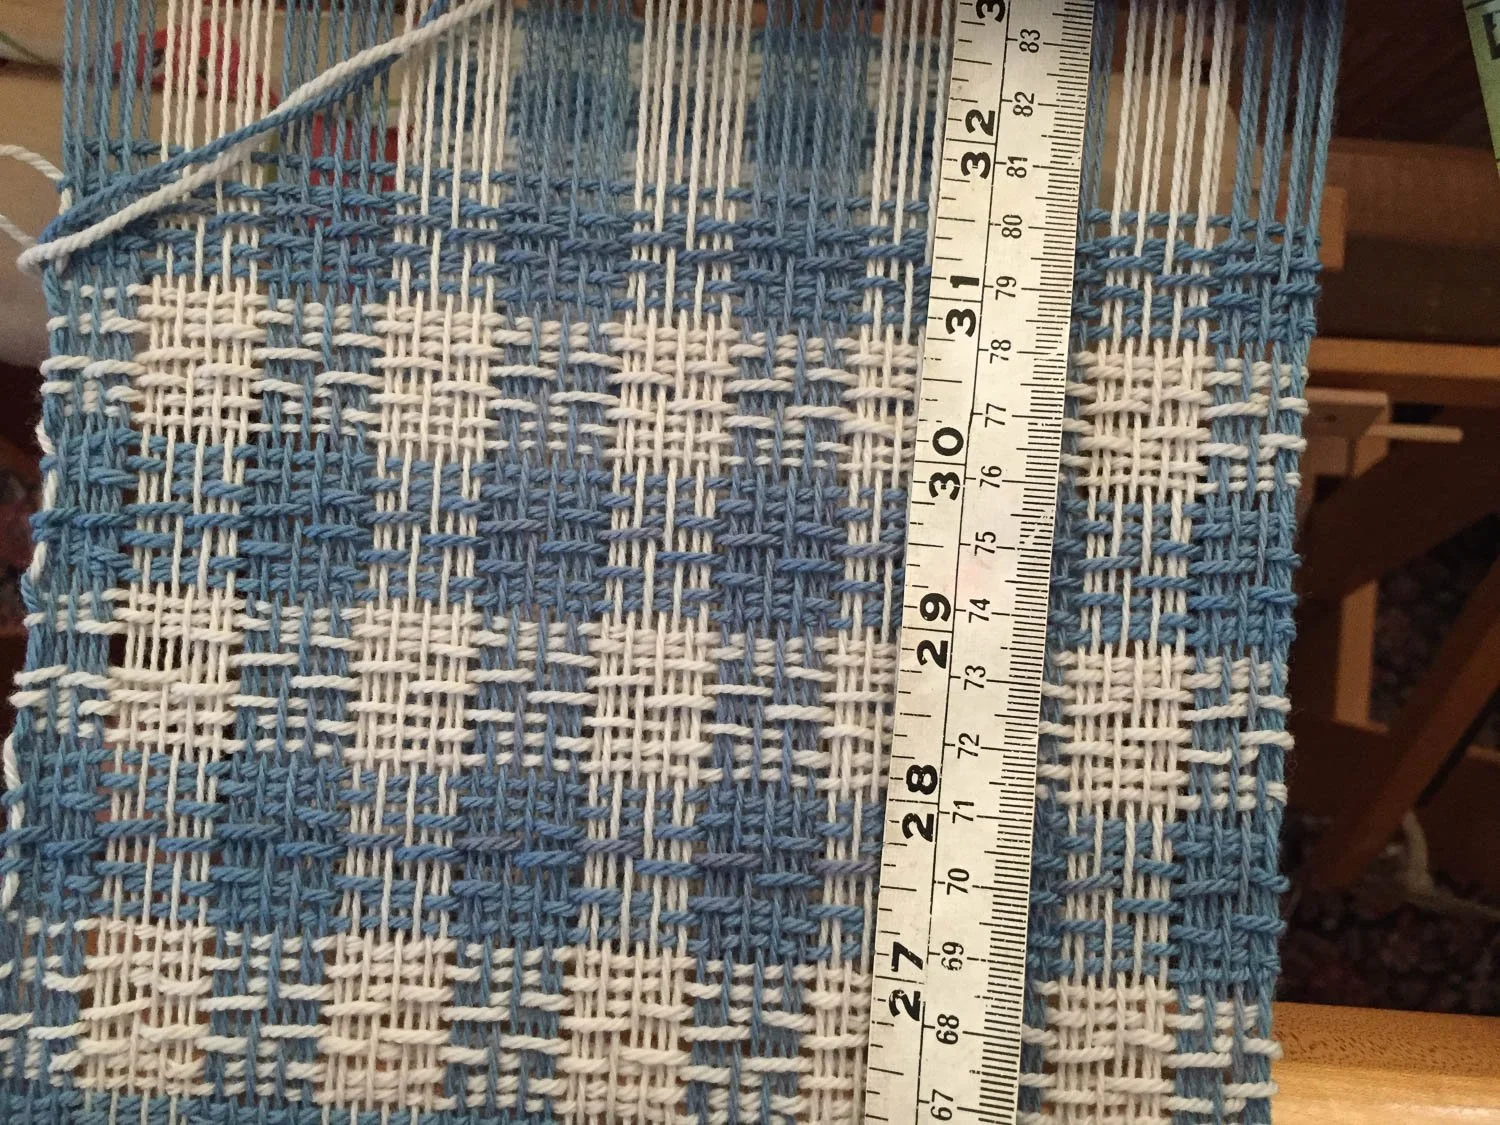
Blue and white fabric on the loom. Each of the bands of color is 8 threads and you can see that the bands are just under an inch. That means the weft was “beat” at 8 picks per inch (8 ppi).

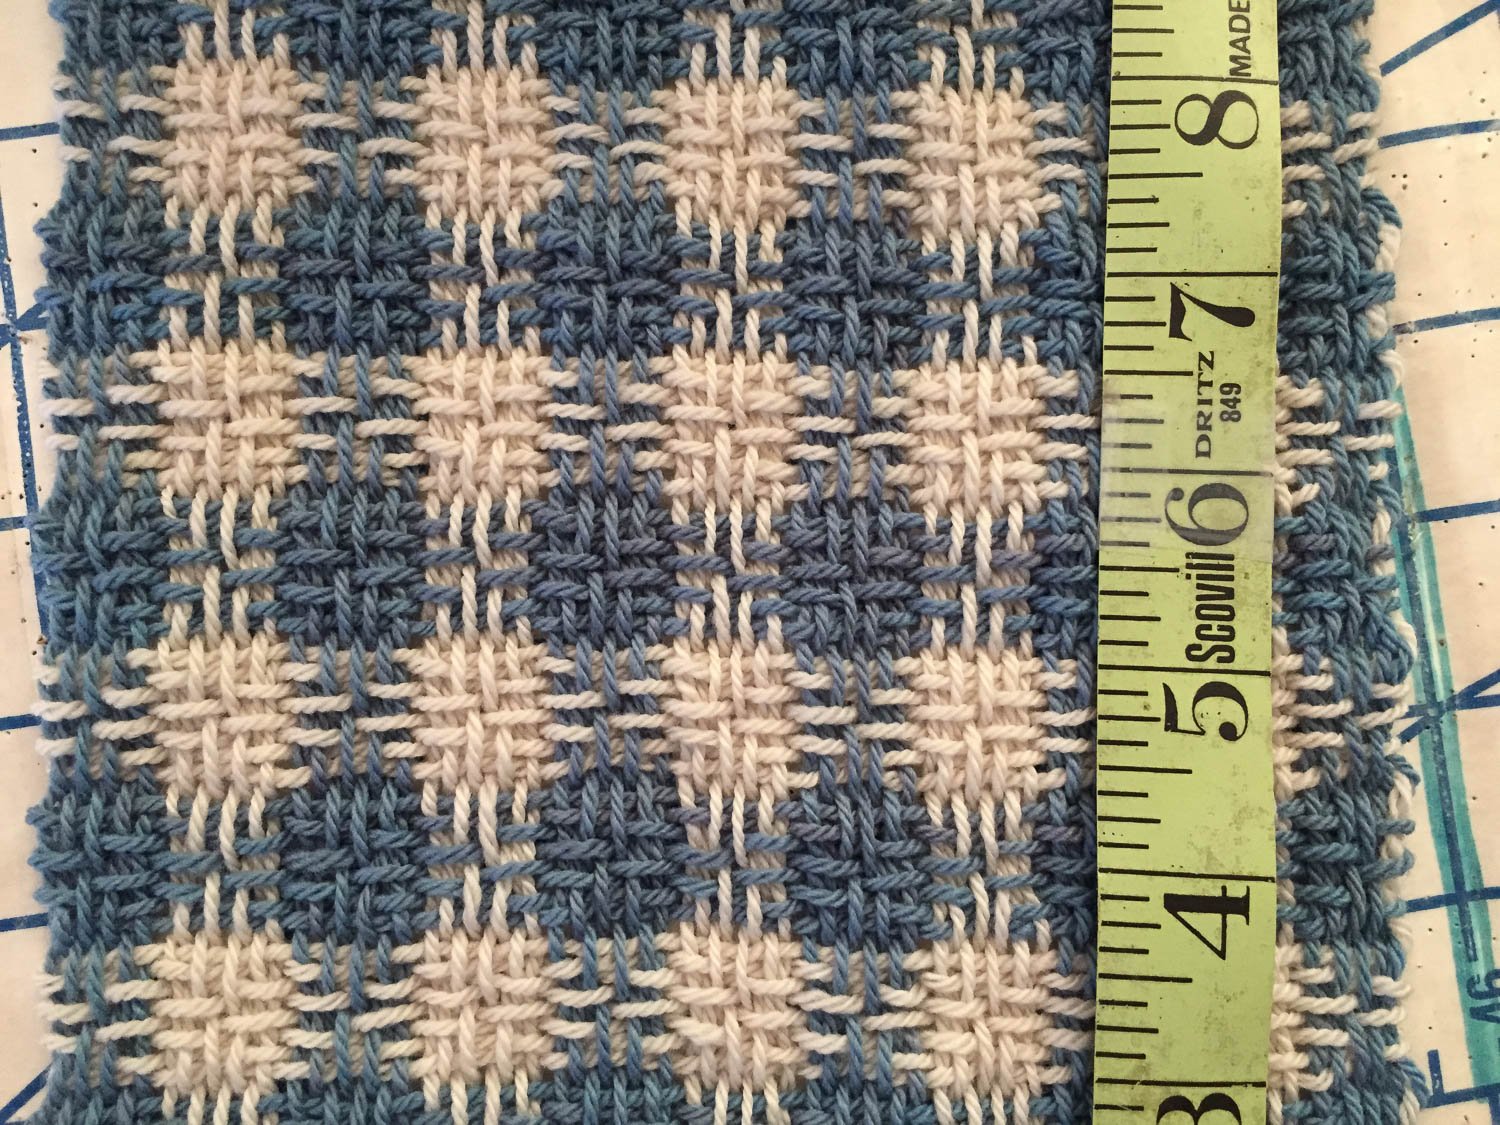
After washing those bands are closer to 3/4” and the weft picks are more like 10 ppi. That is because the yarns are no longer under the tension that they were on the loom and they have relaxed. Wet finishing (soaking in water) helps the yarns to bloom and also lessons some of the space between yarns.

We talk about “beating” the weft and we use the “beater” that is part of the loom. One of the definitions of beat in Webster's Dictionary is “to strike directly against forcefully and repeatedly”. In terms of weaving that might work well if I was making a saddle blanket or a rug or another dense fabric. But if I want my fabric to have the drape of a scarf or shawl, especially when using a stretchy wool, then maybe I should “nudge” the weft pick. Webster’s definition of “nudge”: “To touch or push gently”.

Woven samples showing how open the threads are before washing.

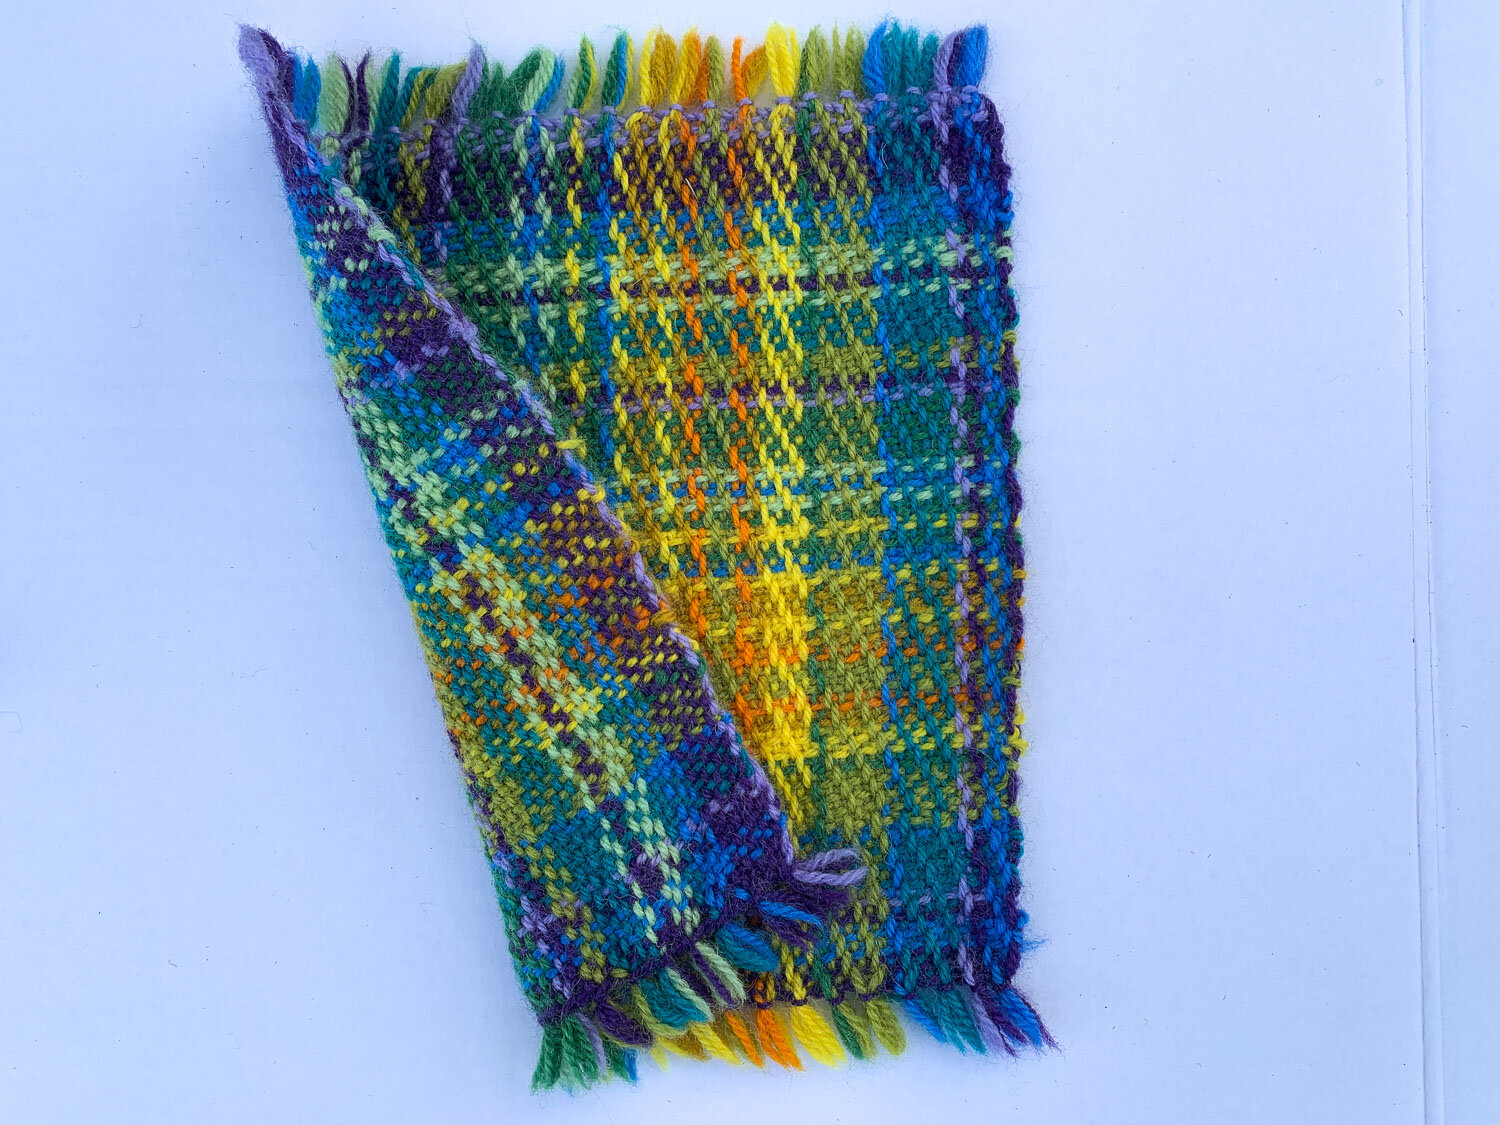
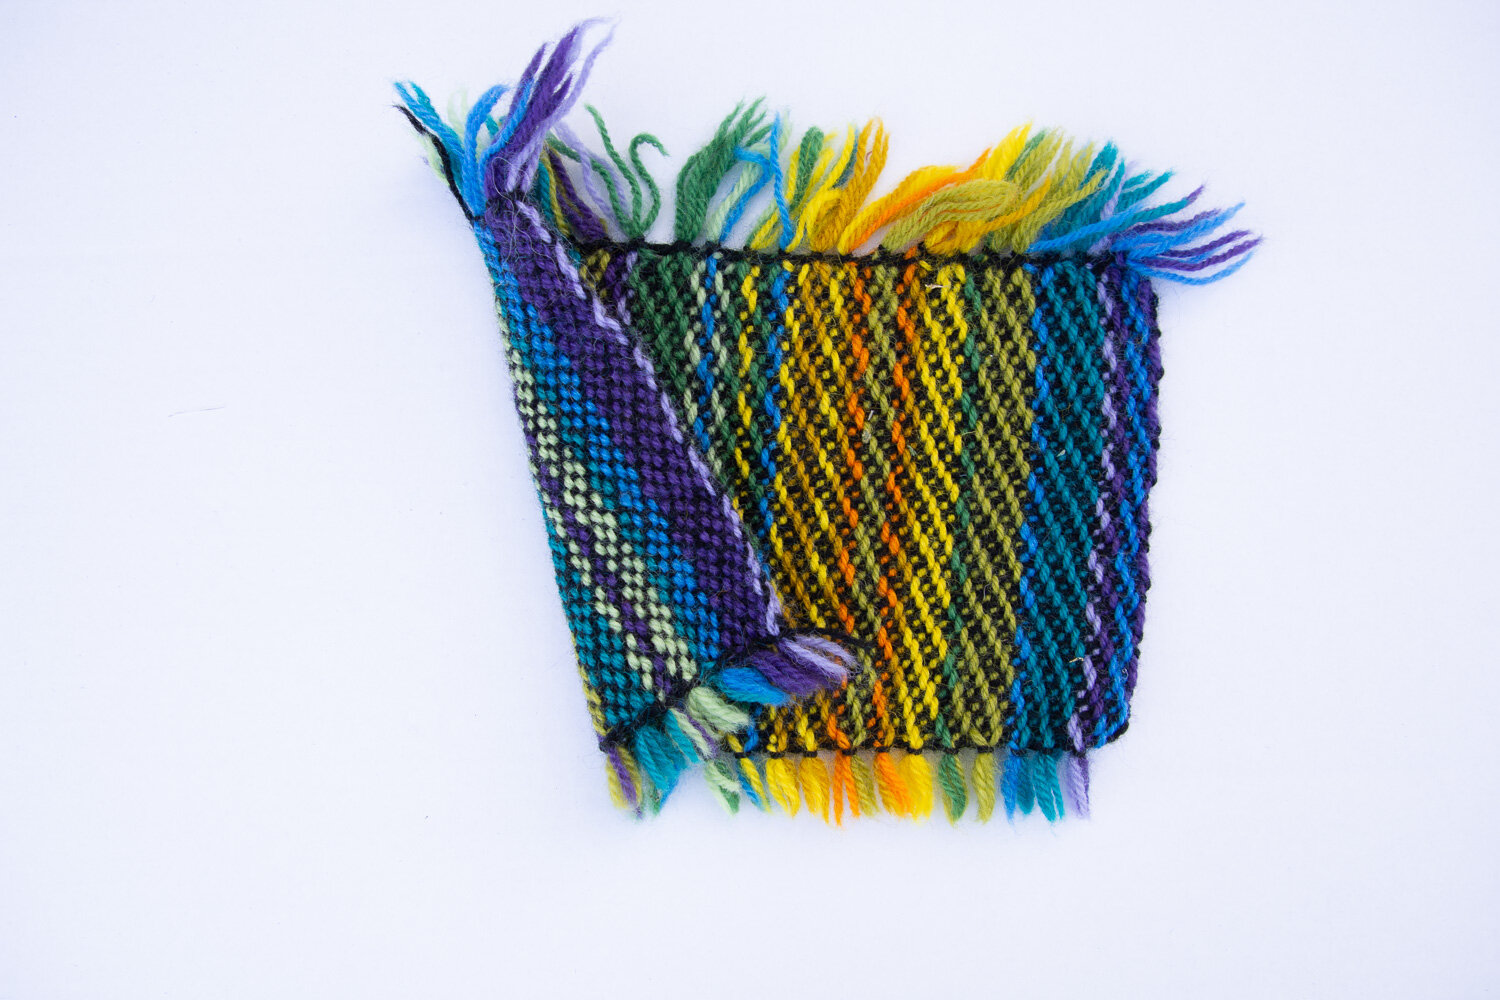
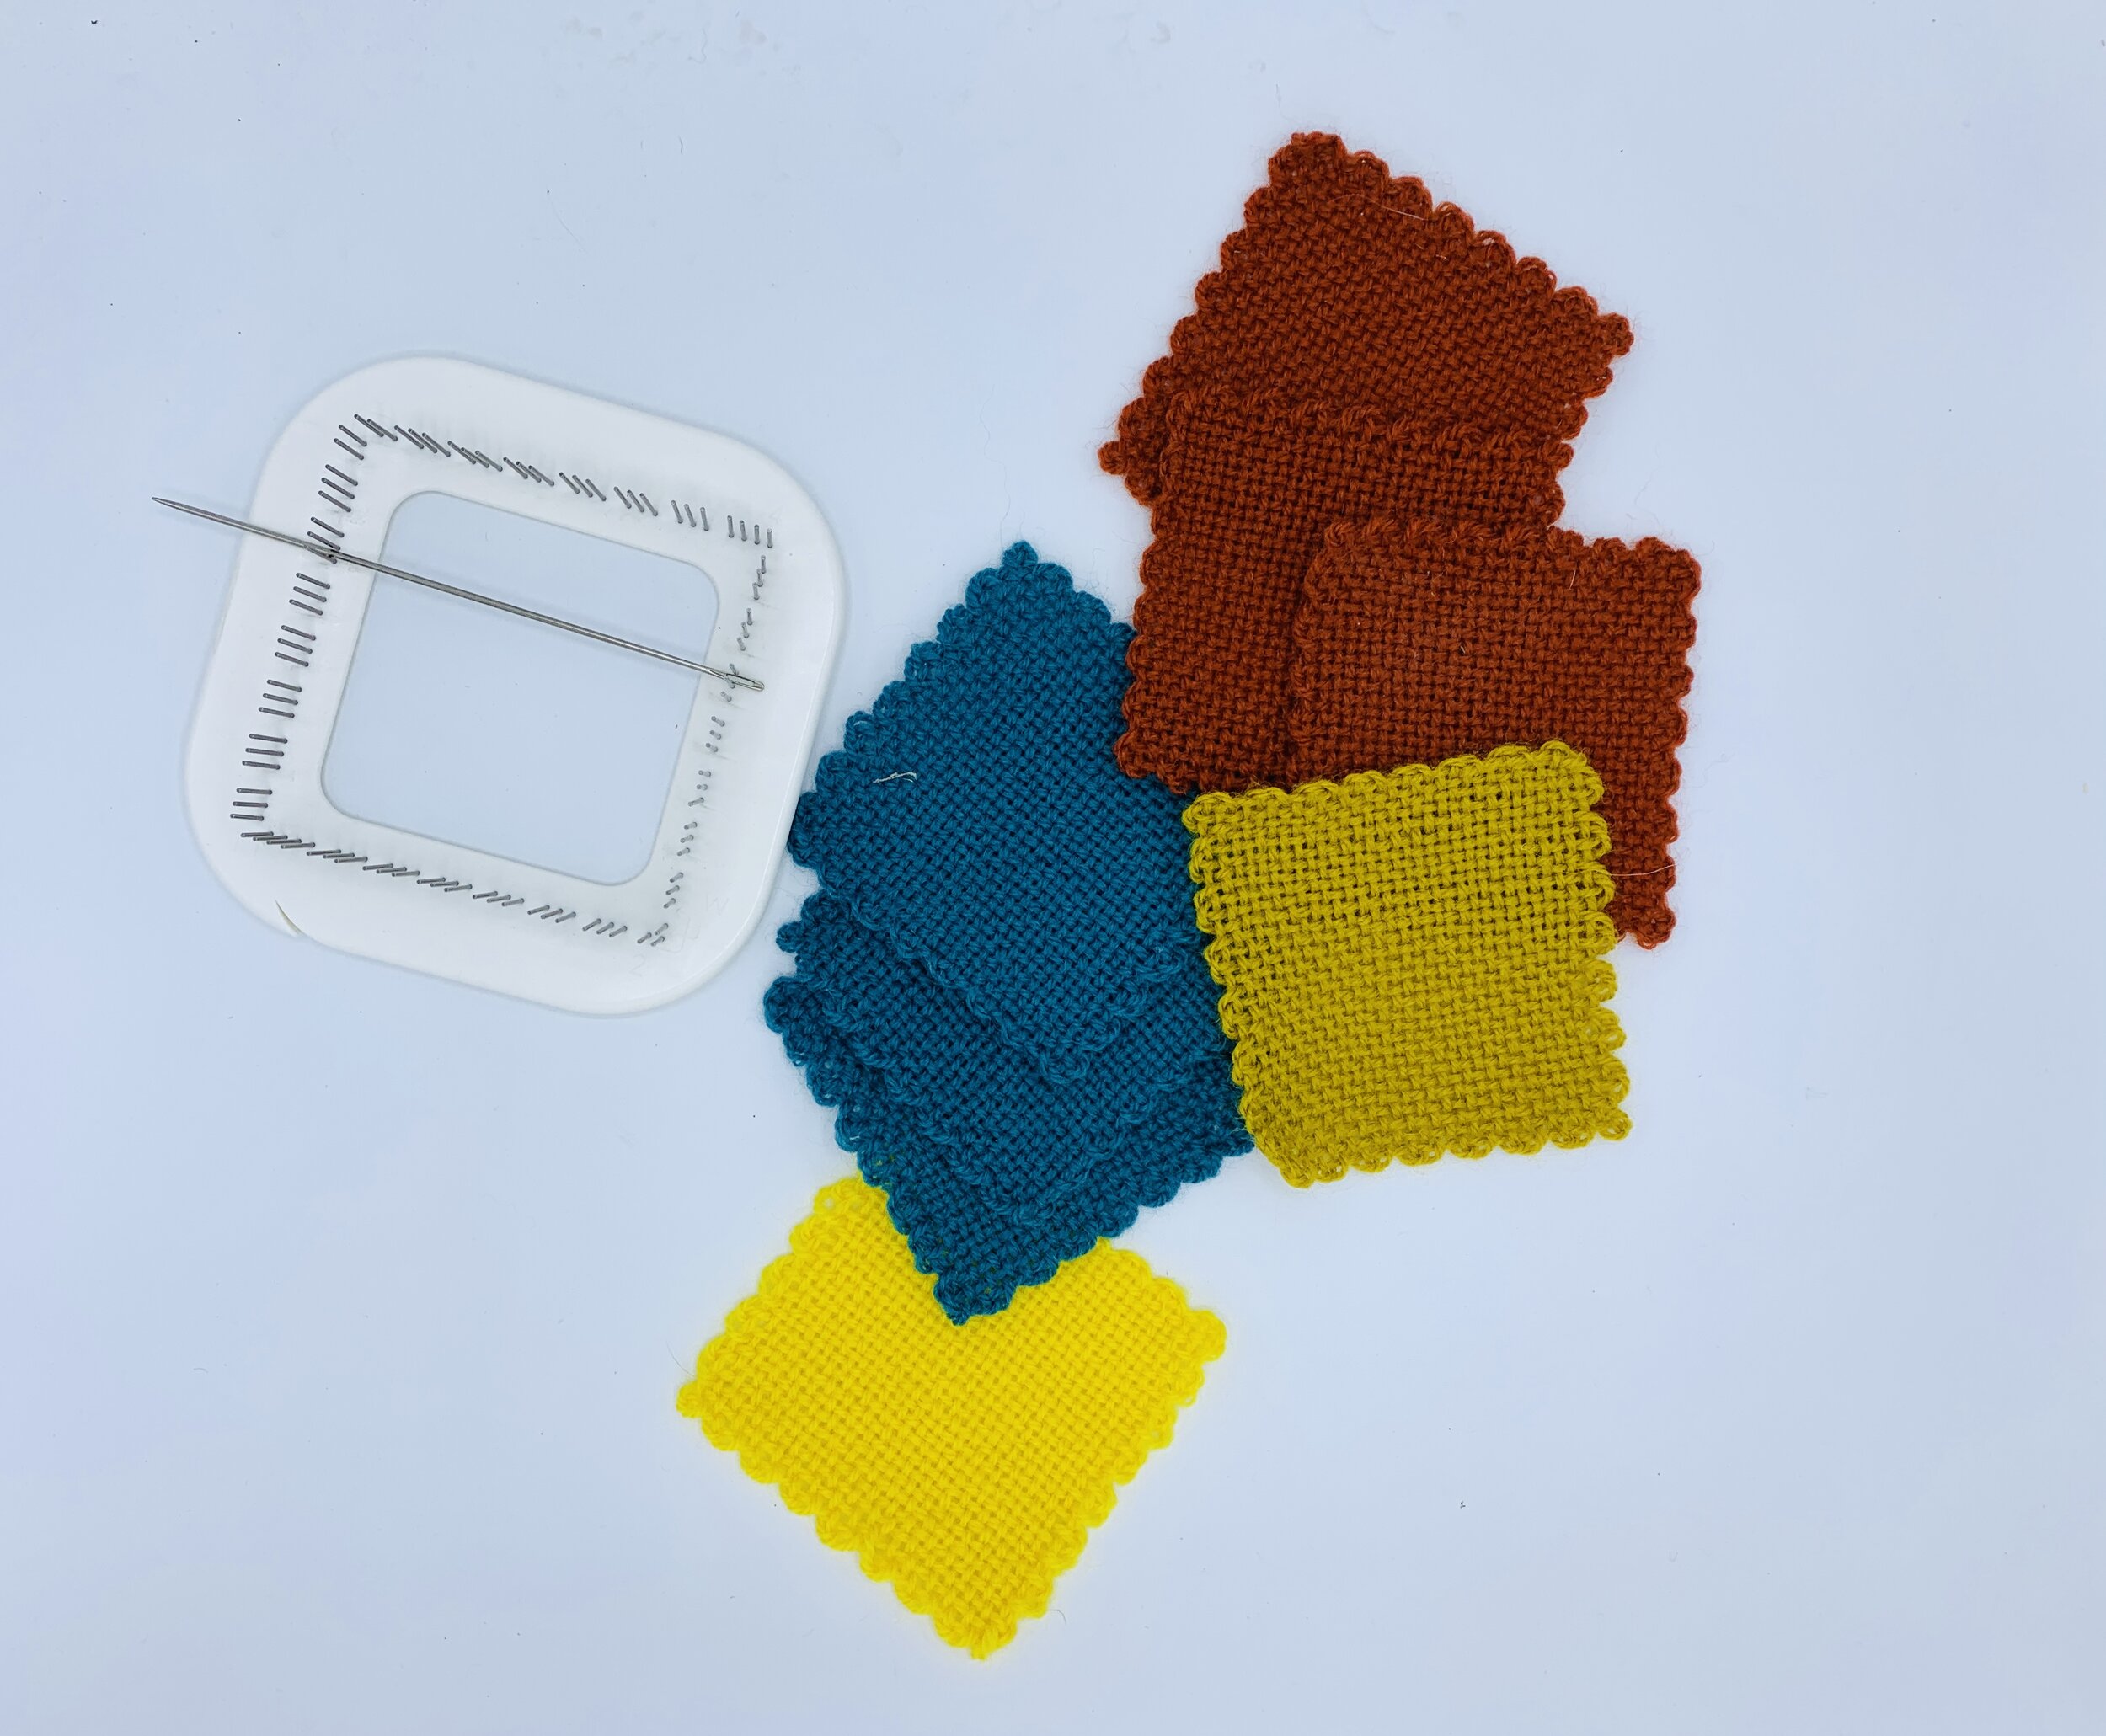
Its difficult for beginning weavers to realize how lightly one can beat (nudge) the weft yarn and have a successful project. However, each yarn is different and what works for one may not work for another. That’s why sampling is a good thing when you start with an unknown yarn. The lower sample above is woven with the local Timm Ranch wool yarn sett at 8 epi (ends/inch).

Natural white wool fabric sample on white background.

This is how it looks after wet finishing. I have worked with this yarn extensively and know to expect this outcome. So I sett the yarn appropriately.

Strands of yarn before and after washing that show how much the yarn shortens after washing.

This shows the difference in the yarn before and after wetting. The fiber doesn’t shrink, but the yarn relaxes and “blooms”. This is important to know when planning a project.

Yarn before and after washing. Washed yarn looks much thicker.

This shows the yarn in skeins. The one on the right has been soaked in water and allowed to dry naturally. This is off the topic of “beat” or “nudge” but it all affects the outcome of the project.

Fabric on loom with brown warp and white weft in zigzag pattern.

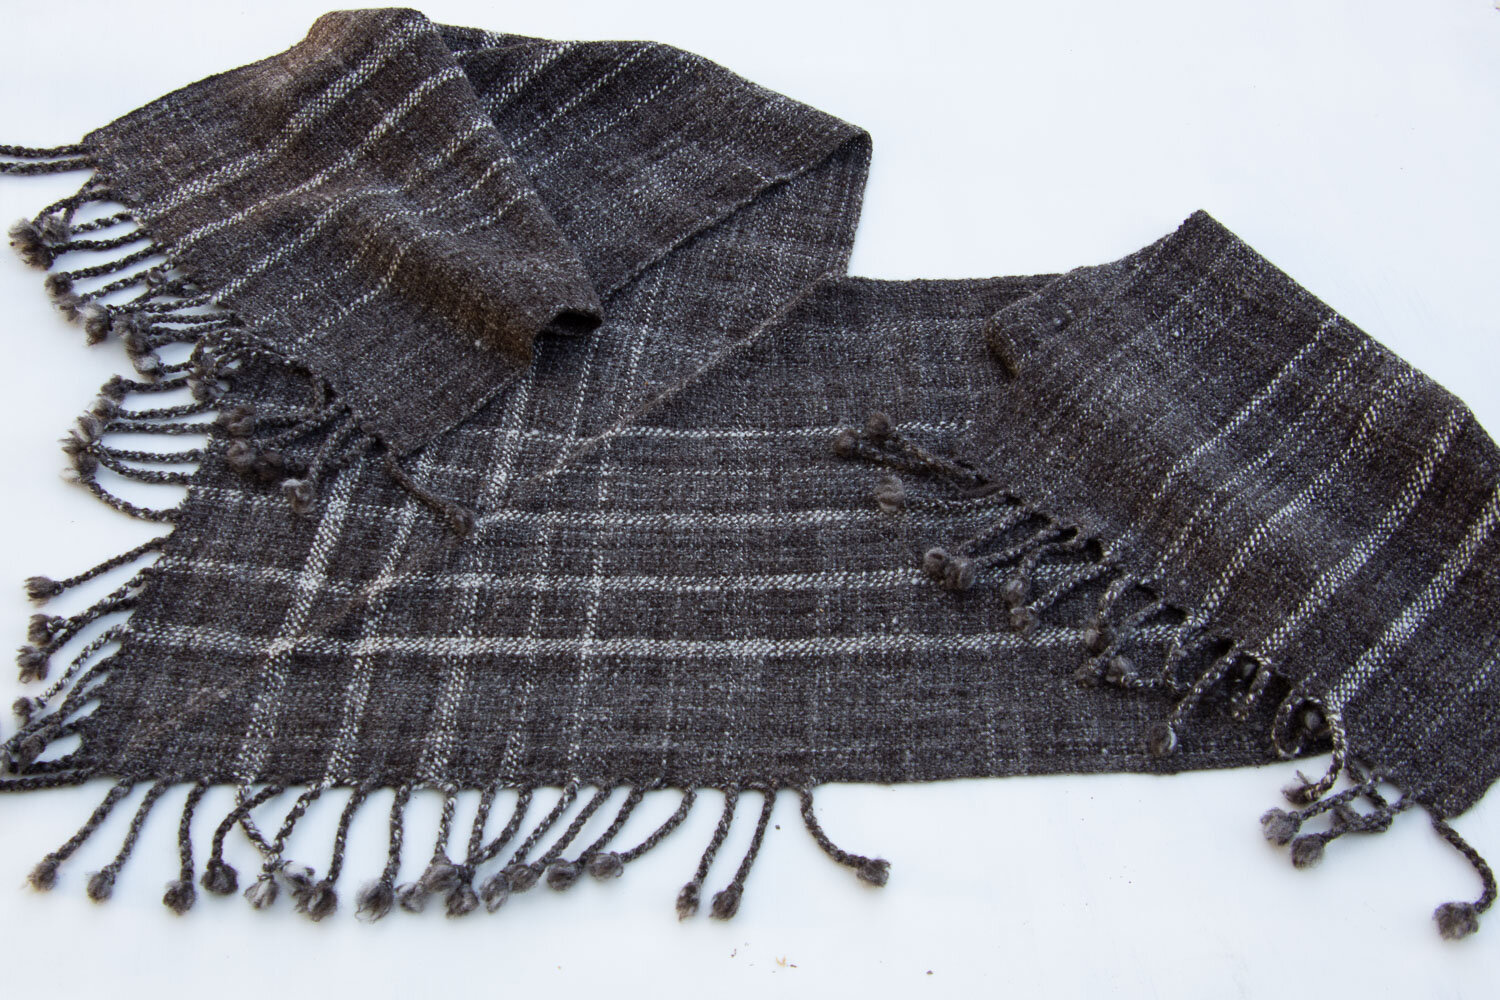
This warp is a mix of Jacob yarn and Timm Ranch yarn dyed with black walnut and mushrooms. It is sett at 6 epi. Notice how it looks loosely woven.

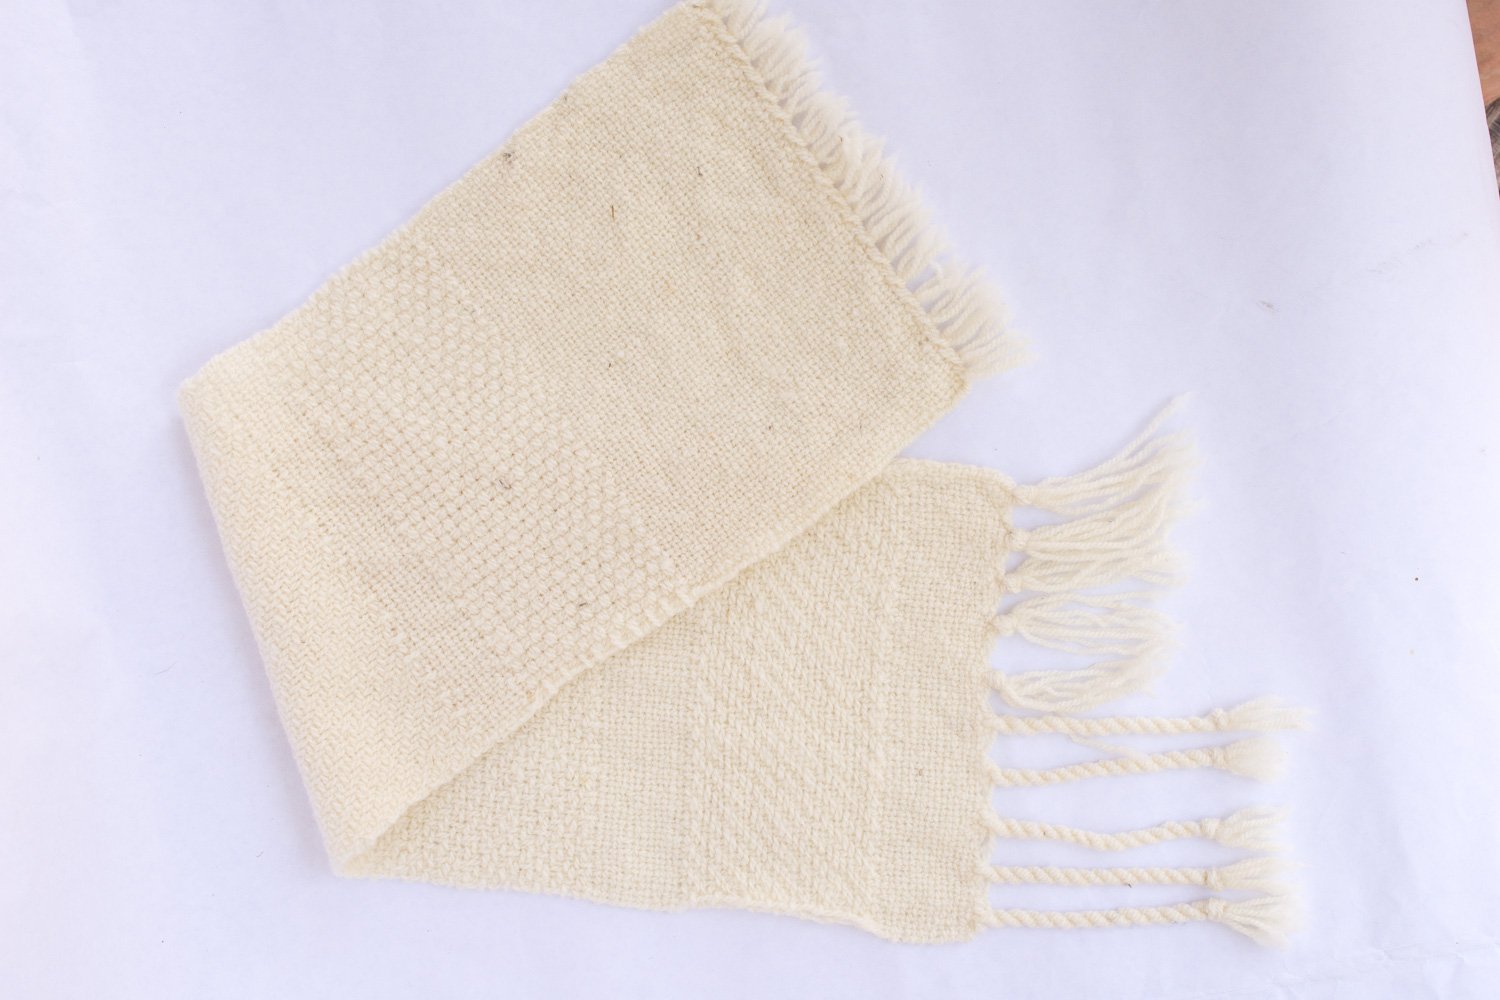
The warp was long enough for several shawls. The photo shows an unfinished and a finished piece. I wet finish large pieces in my old top loading washing machine. I put the fabric in hot water and detergent, agitate for usually 2 to 3 minutes, and then spin out the water. I remove the fabric to fill the washing machine with rinse water and then soak the piece briefly without agitating. I use the spin cycle to remove the water.

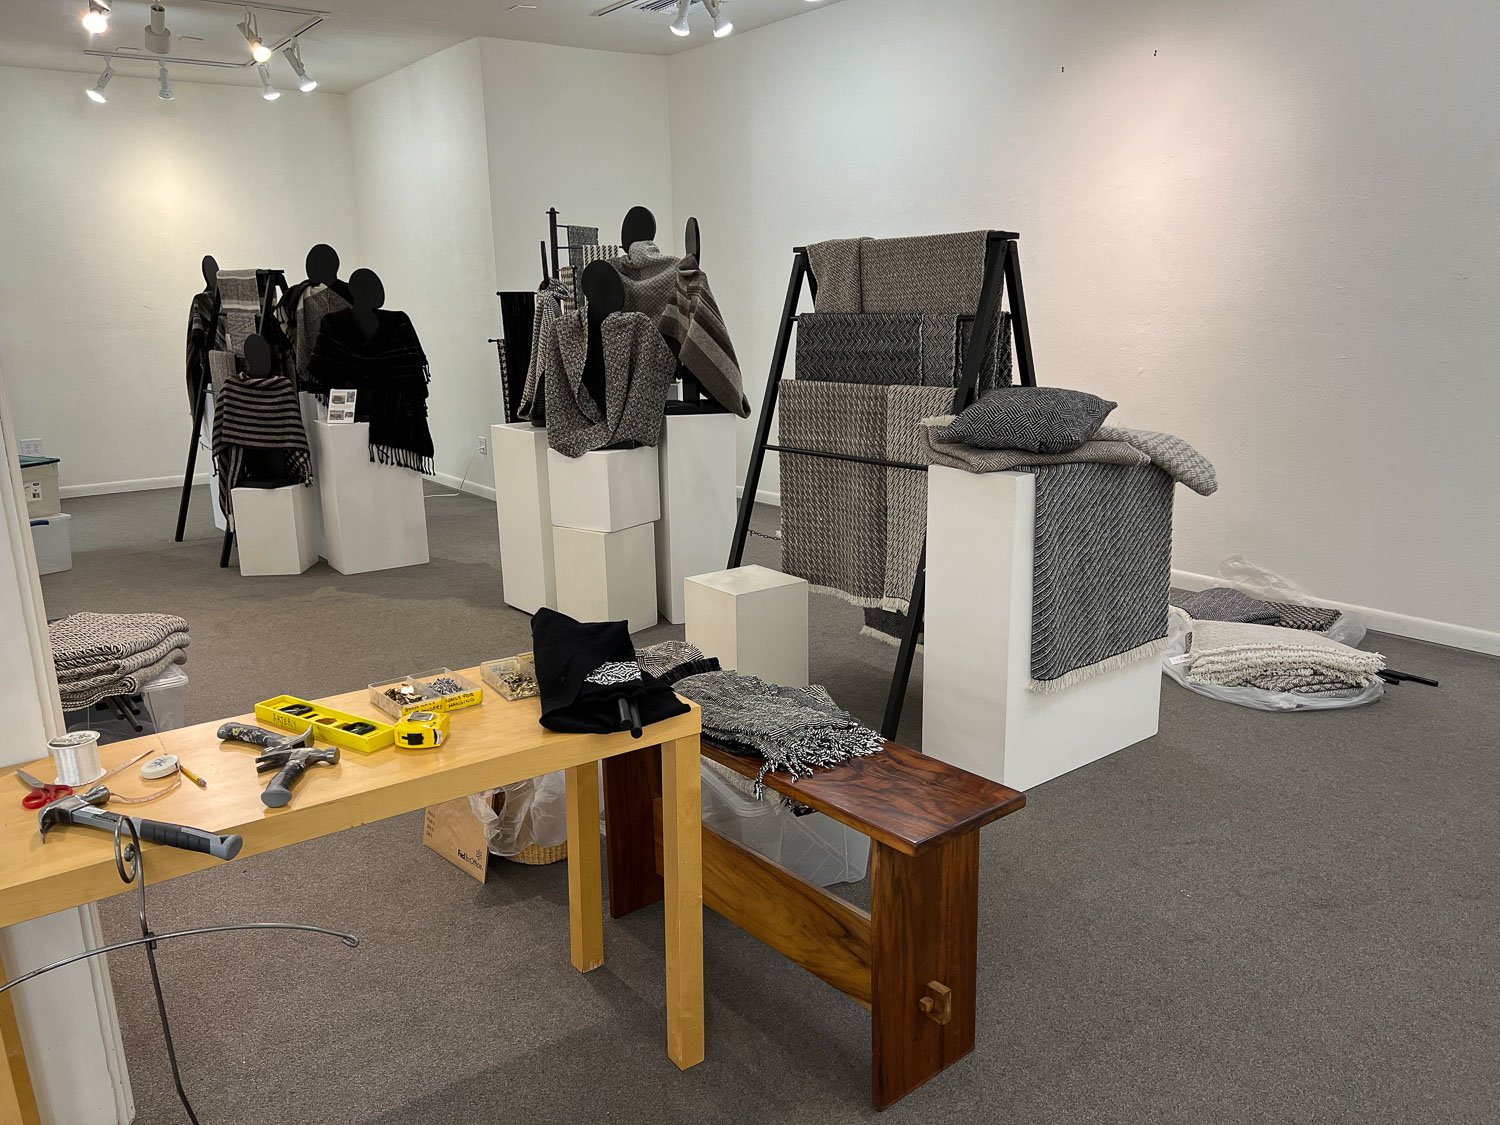
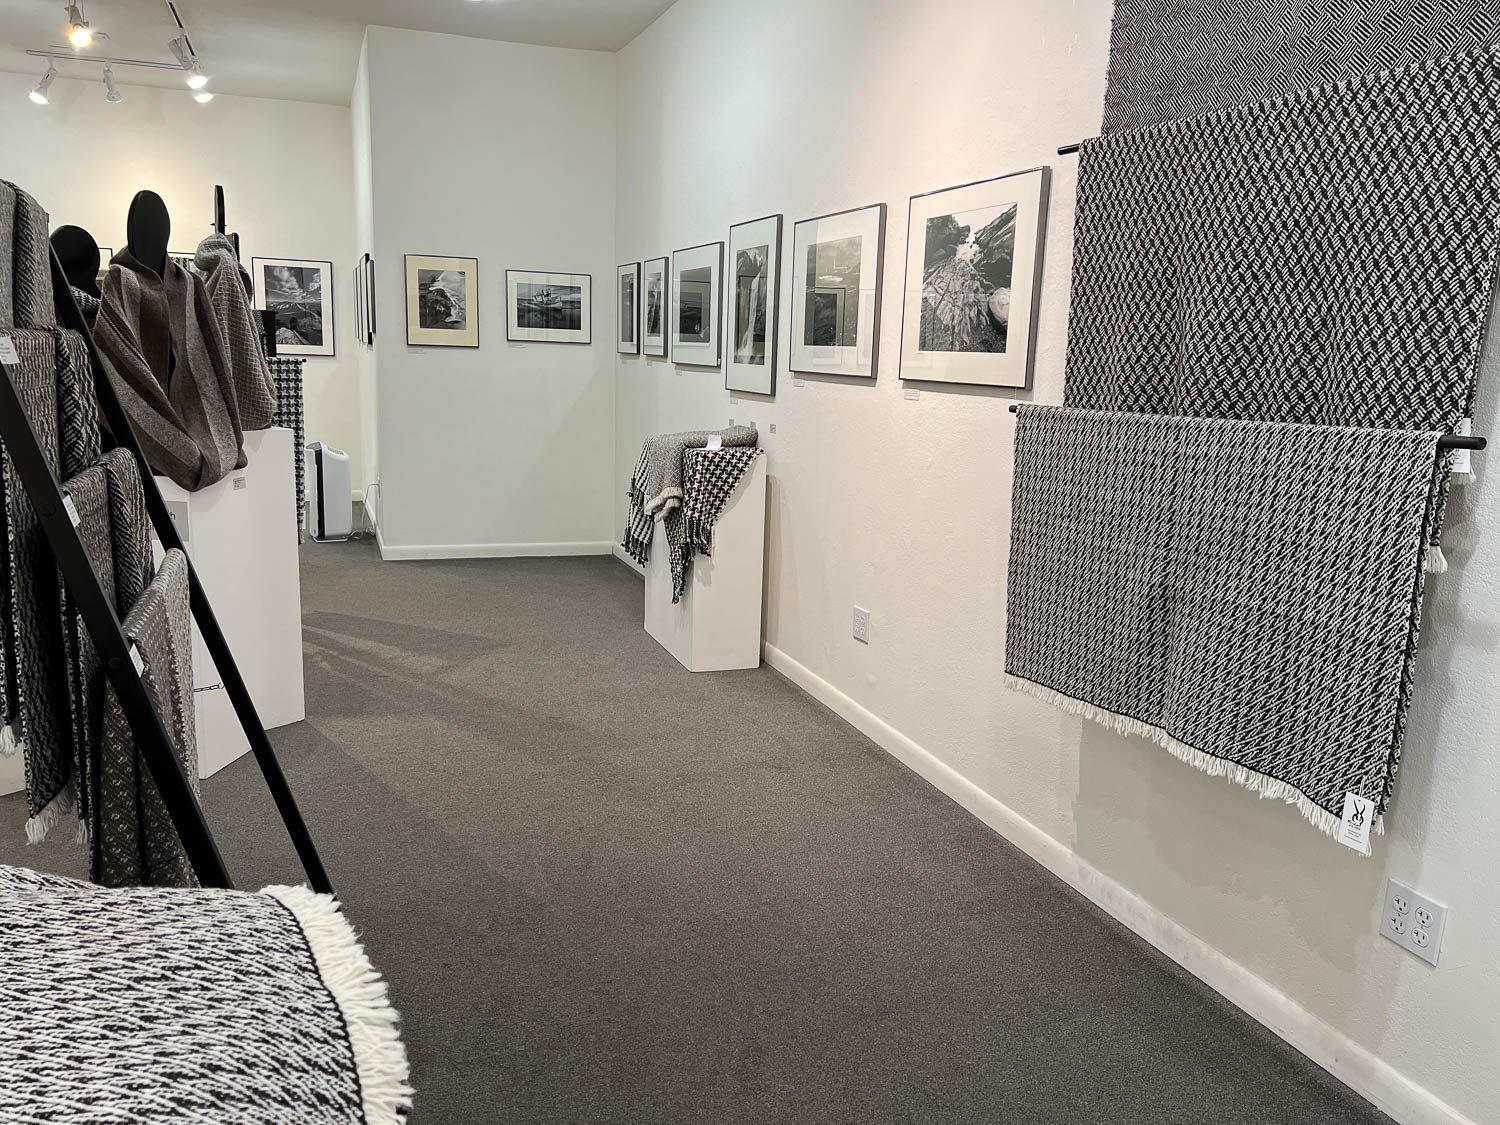
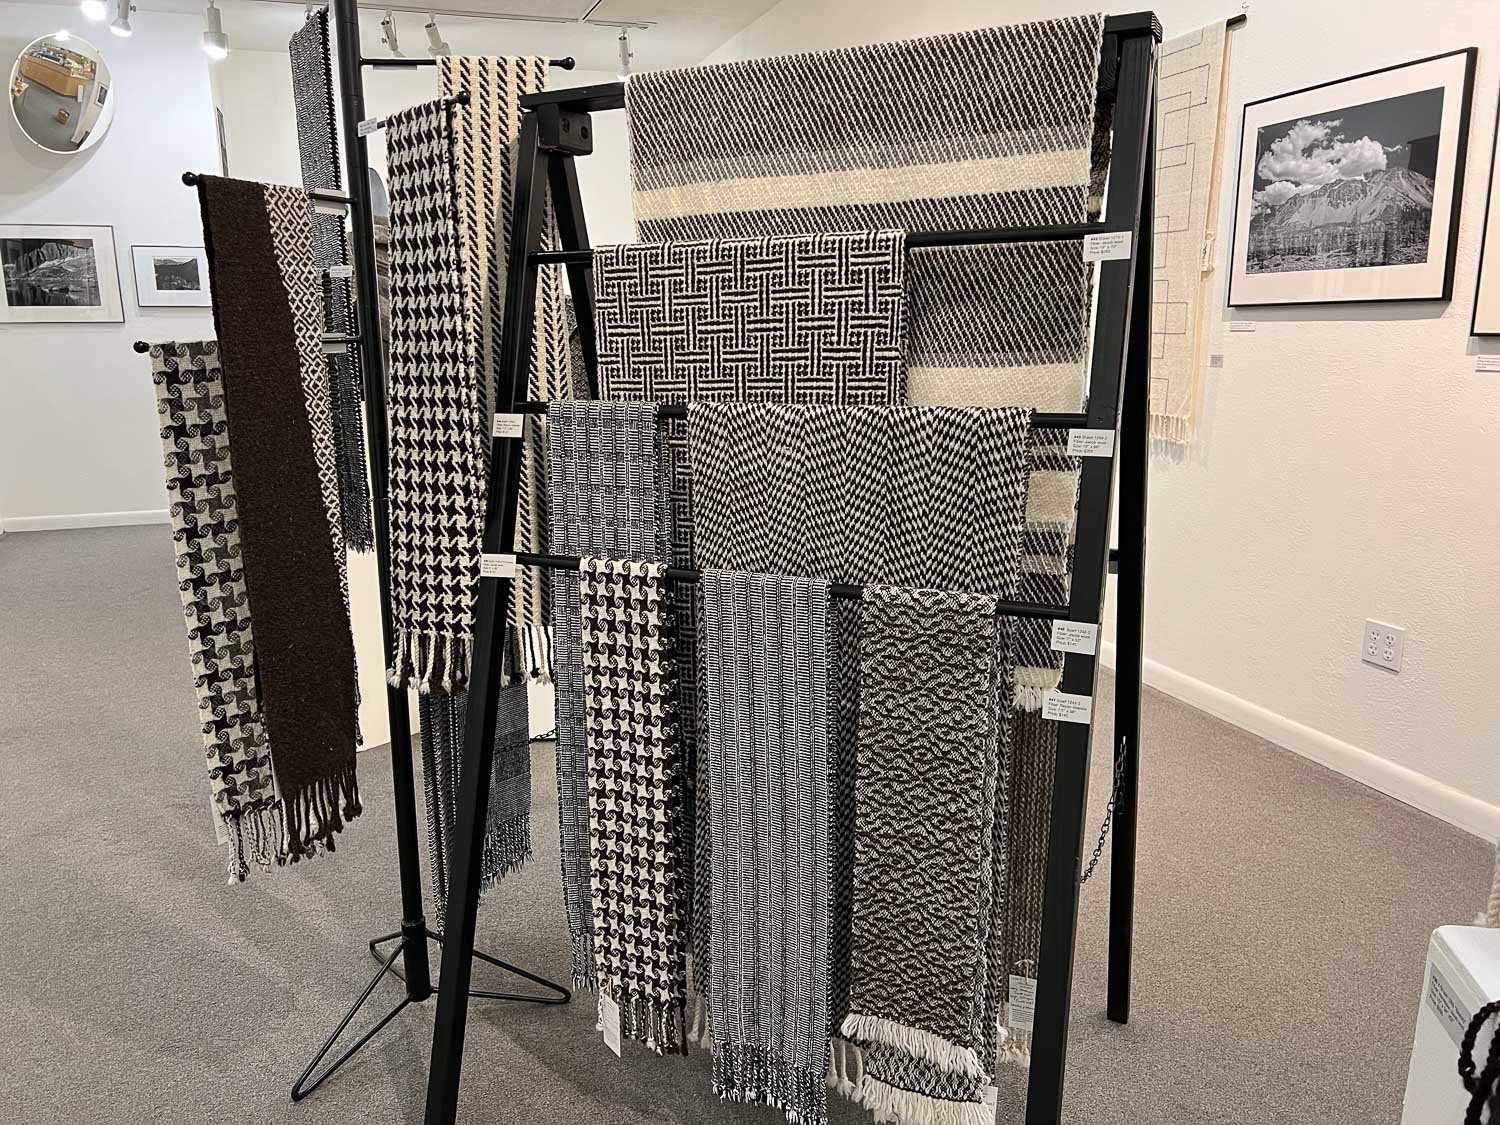
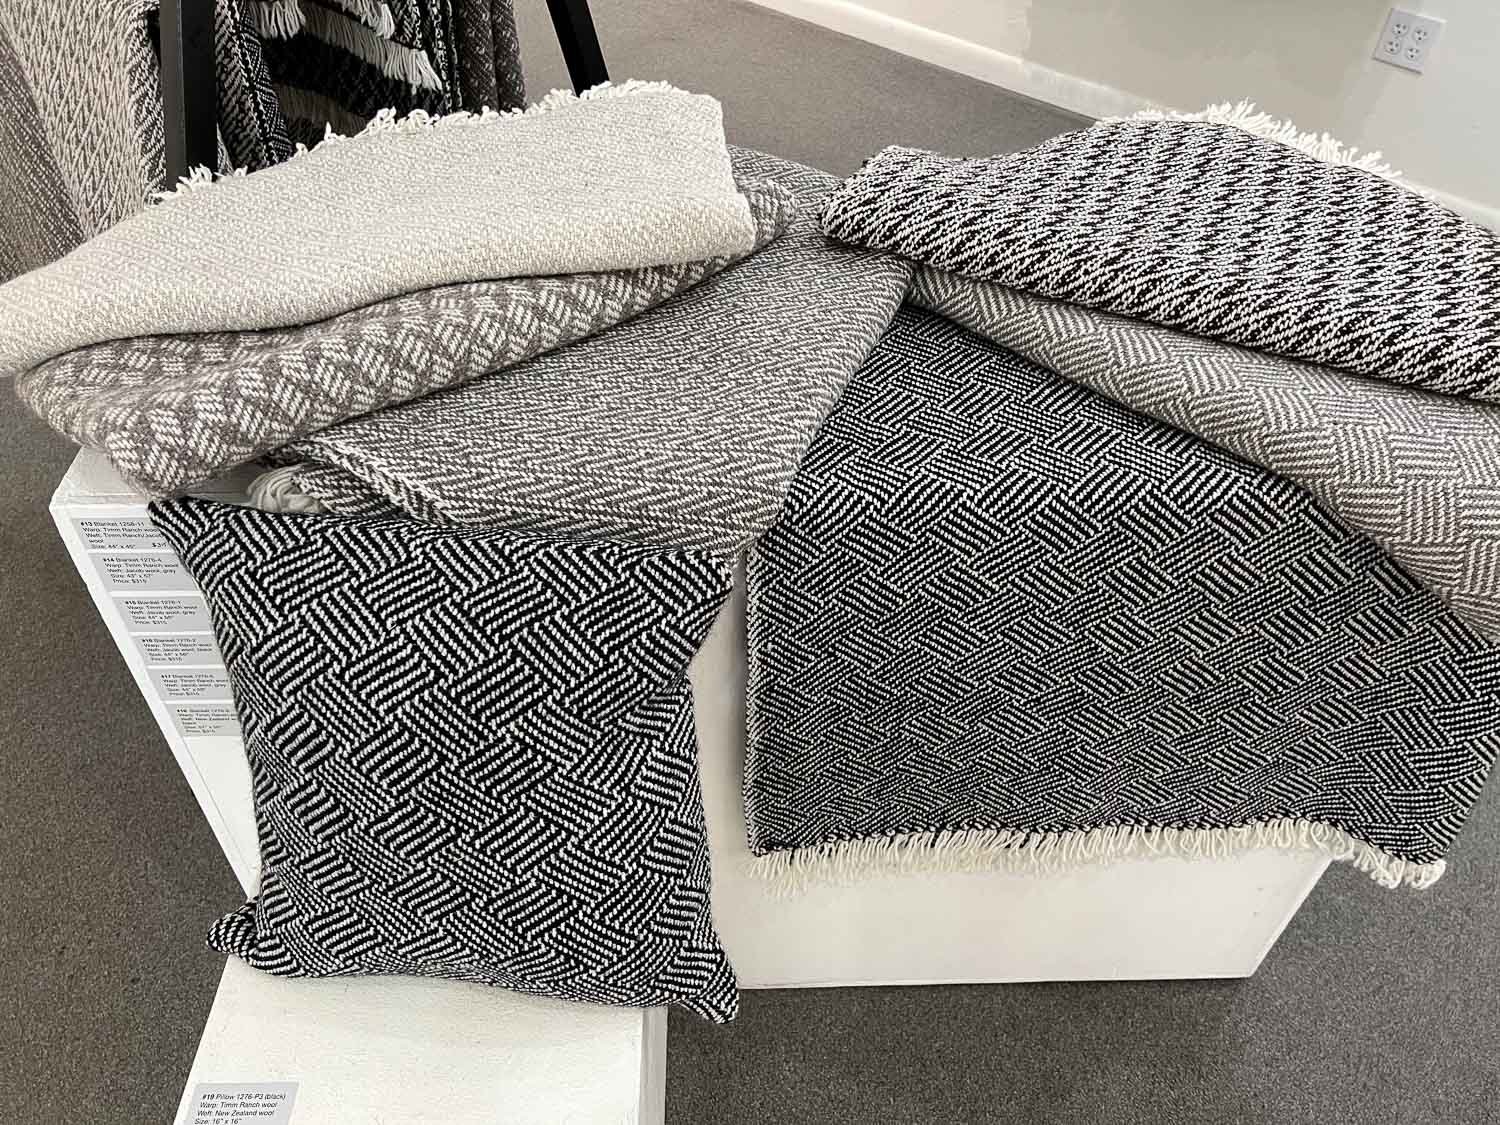
Here are a few more before and after examples of pieces I recently wove for my Shades of Black and White show at The Artery.

Pinwheel fabric on loom in white, gray, and black.

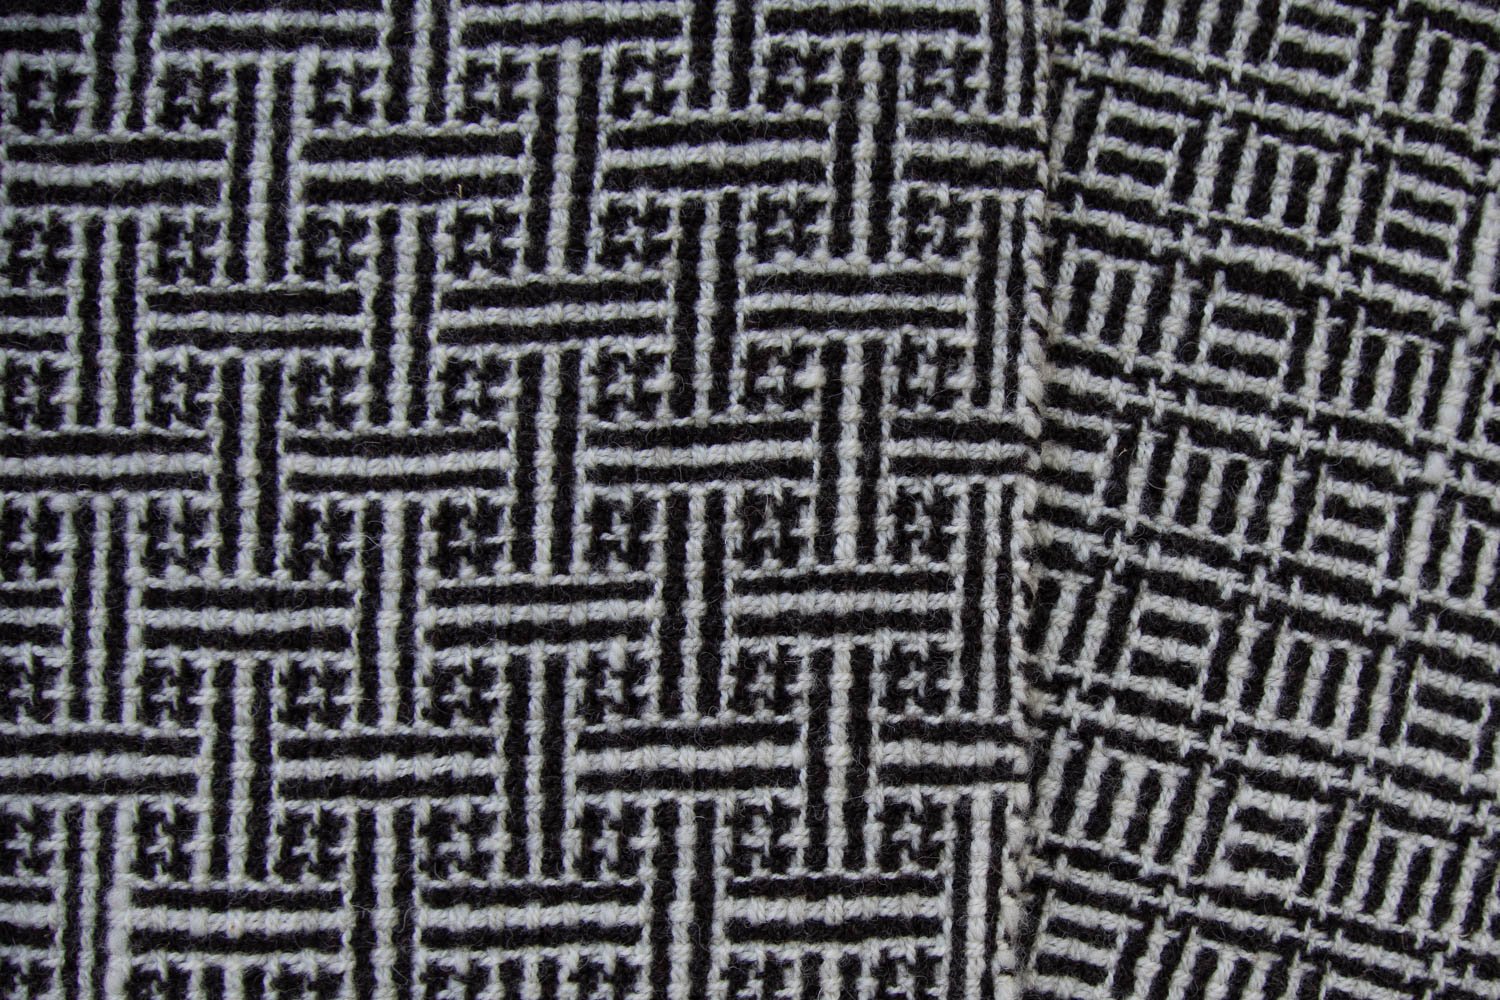
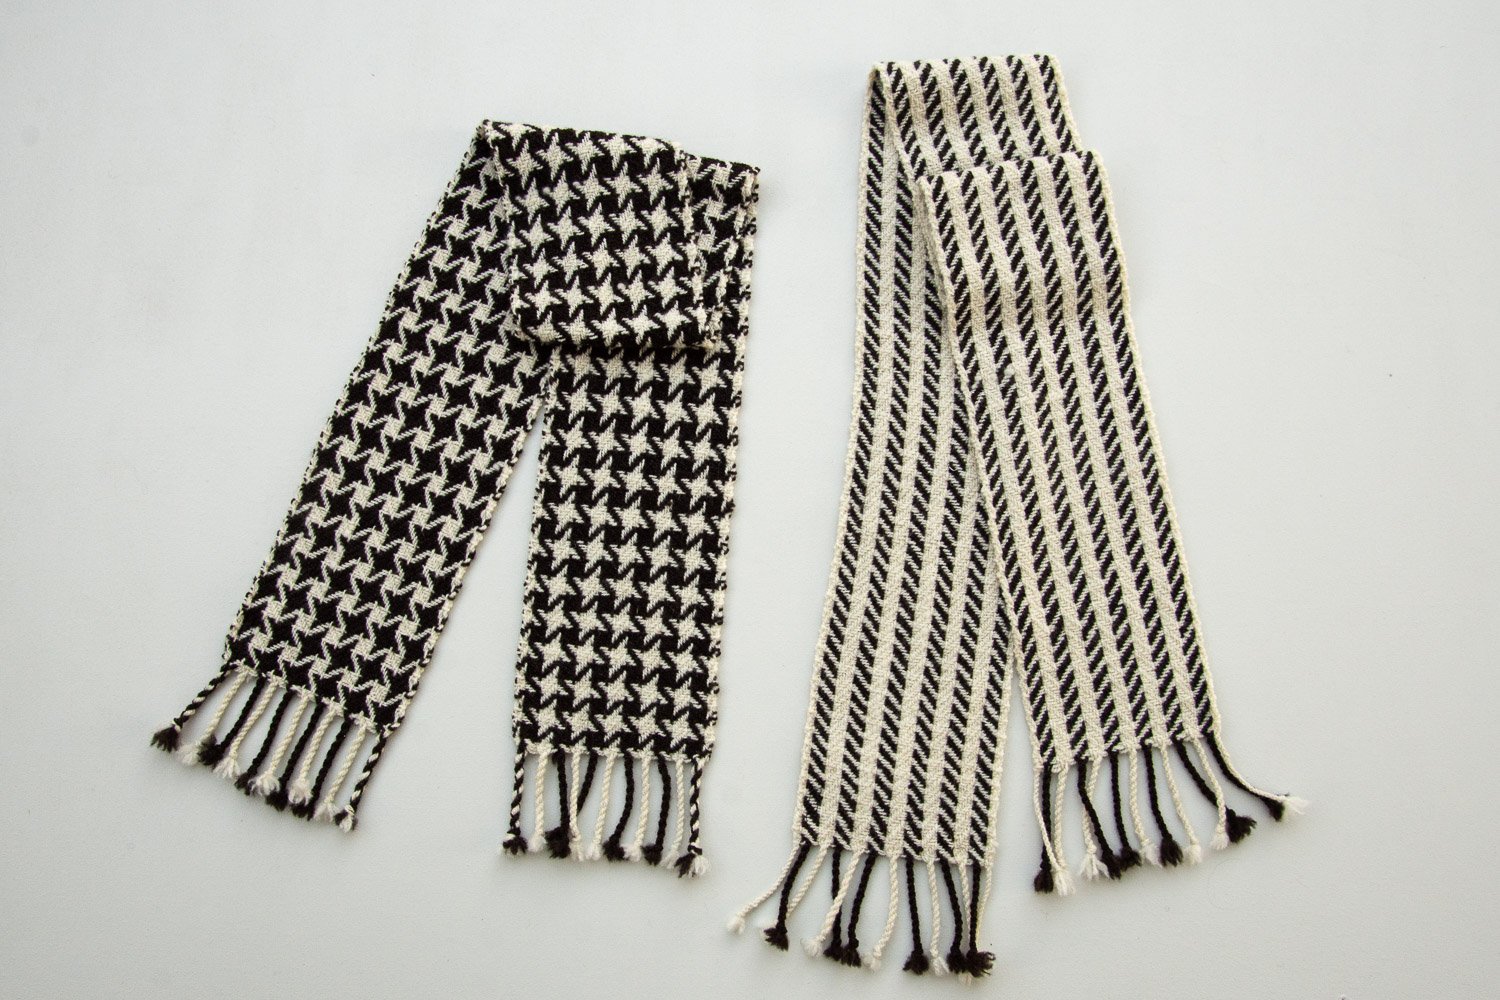
This is Jacob yarn sett at 8 epi. It’s important to nudge those yarns at 8 ppi to maintain the balance of the squares. If I beat harder I’d lose that pattern.

Pinwheel scarf in white, gray, and black.

The finished scarf.

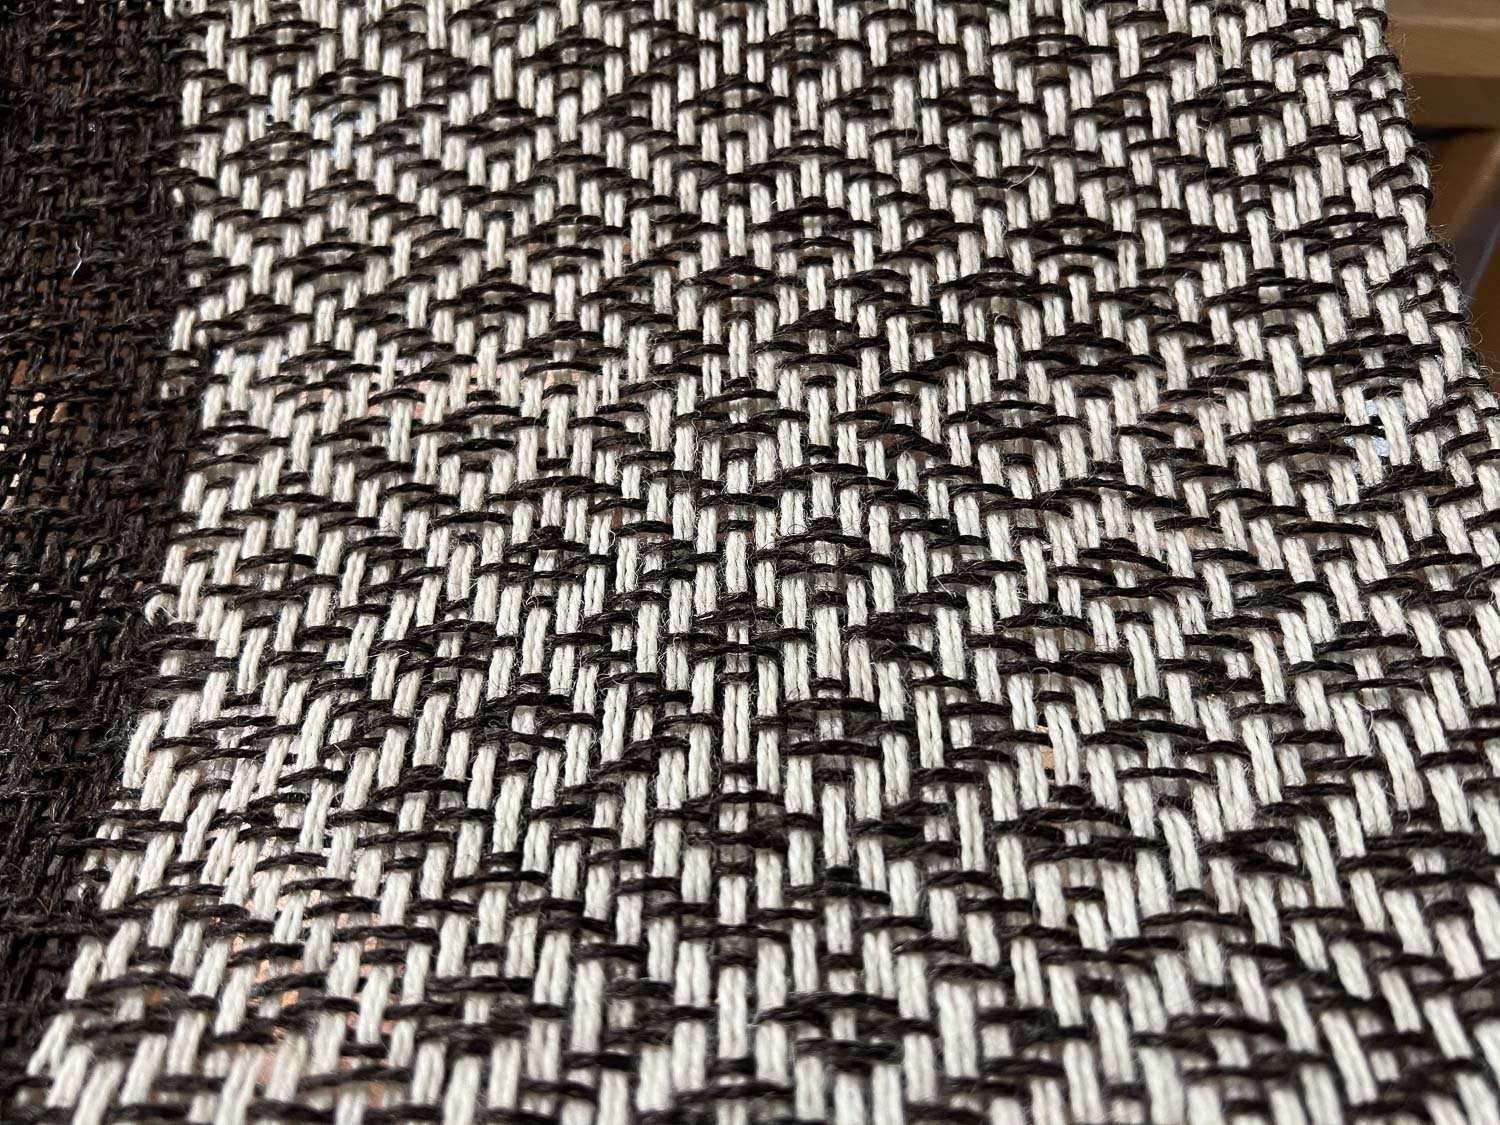
Close up of the pinwheel fabric.

This is another shawl using Jacob yarn. It was sett at 8 epi. Beat is 8 ppi.

This is after wet finishing (3 minutes of agitation). The fabric is thicker because the yarns have bloomed. It has a lot of drape and bounce. My notes show that draw-in (widthwise) and take-up (lengthwise) and shrinkage was 22%. So this started out at 25” wide on the loom and finished at 19.5”.

Black and white wool fabric on the loom.

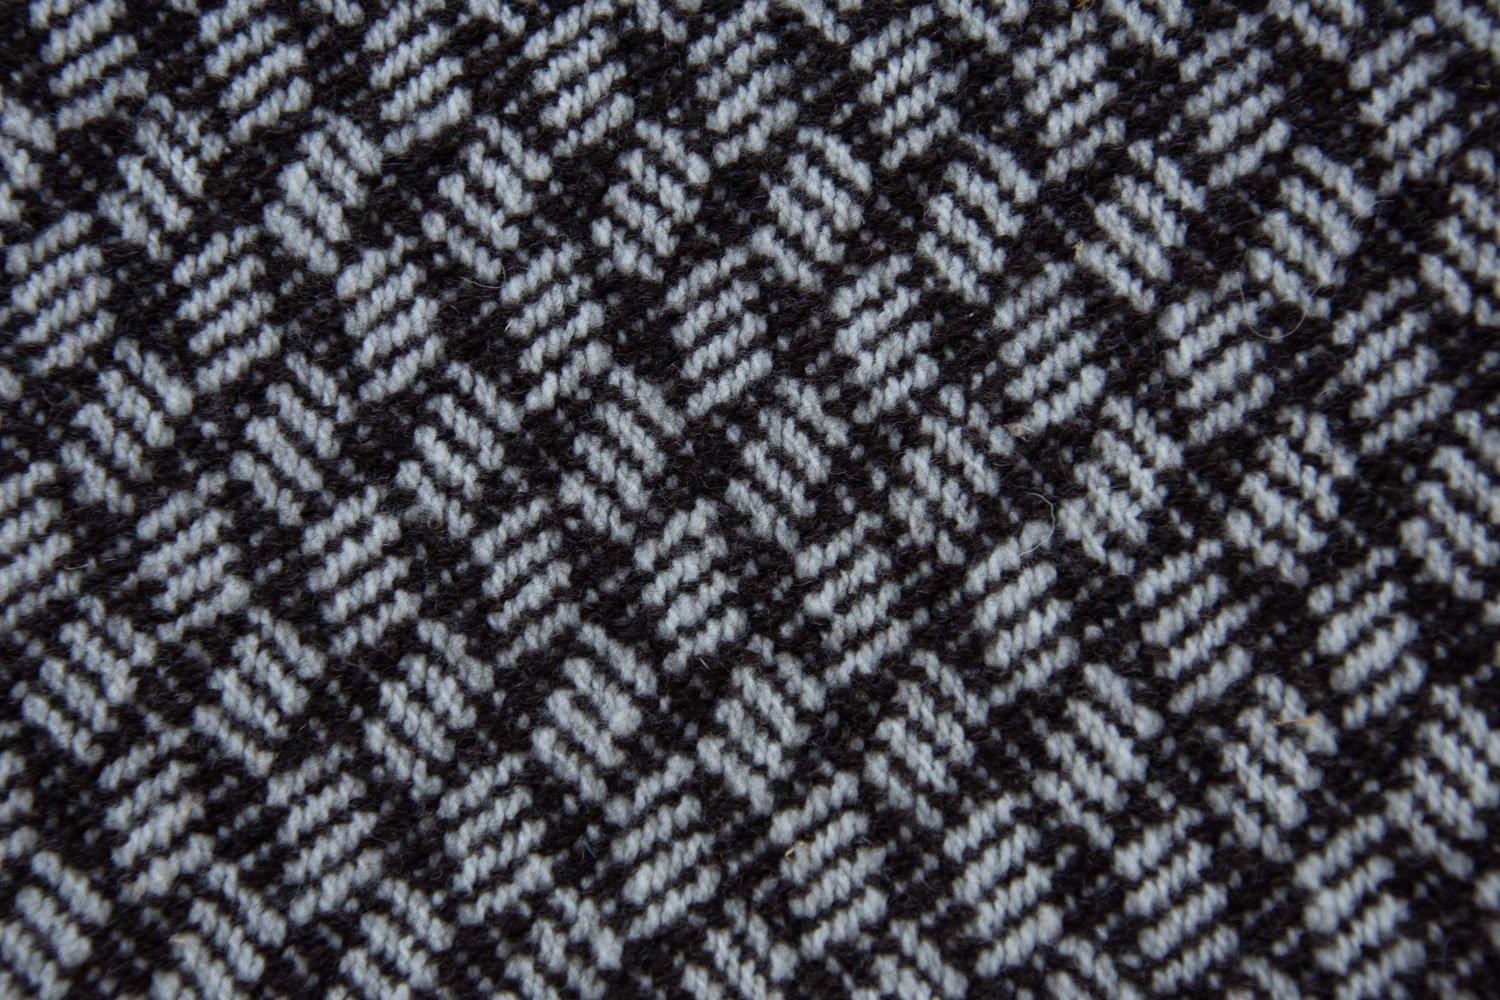
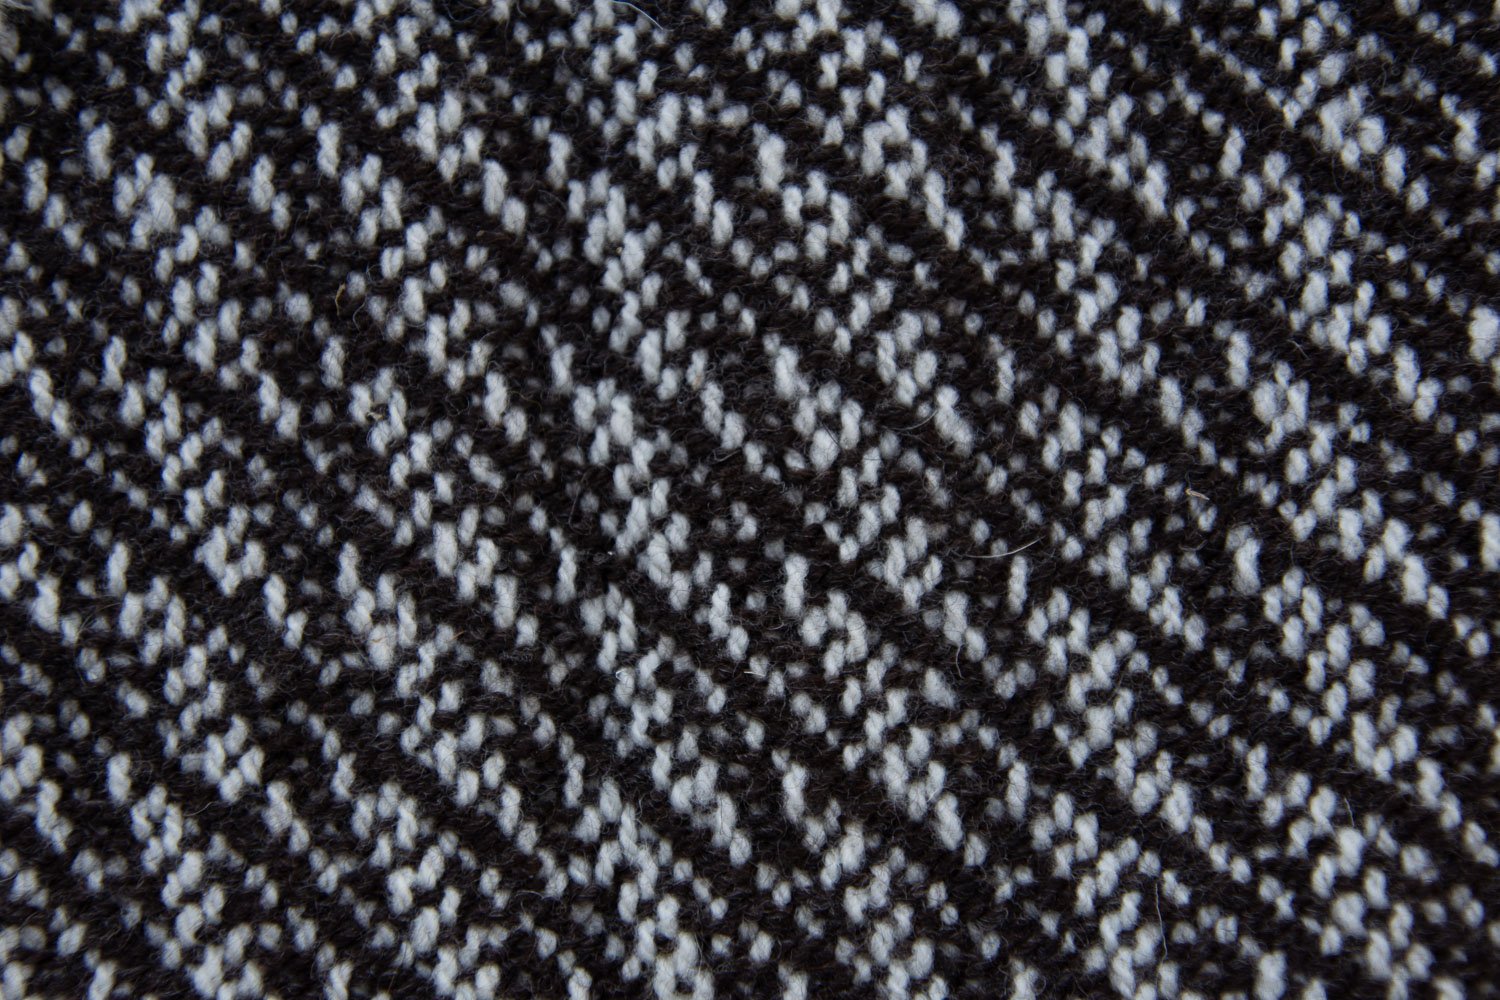
Here is another using Jacob wool. The details are similar to the previous one—8 epi and 25” wide on the loom. This design relies on alternating two dark threads and two light threads in warp and weft.

The shawl is 19” wide after finishing. This pattern behaved differently with 25% change widthwise and 18” lengthwise.

Close up of black and white wool fabric.

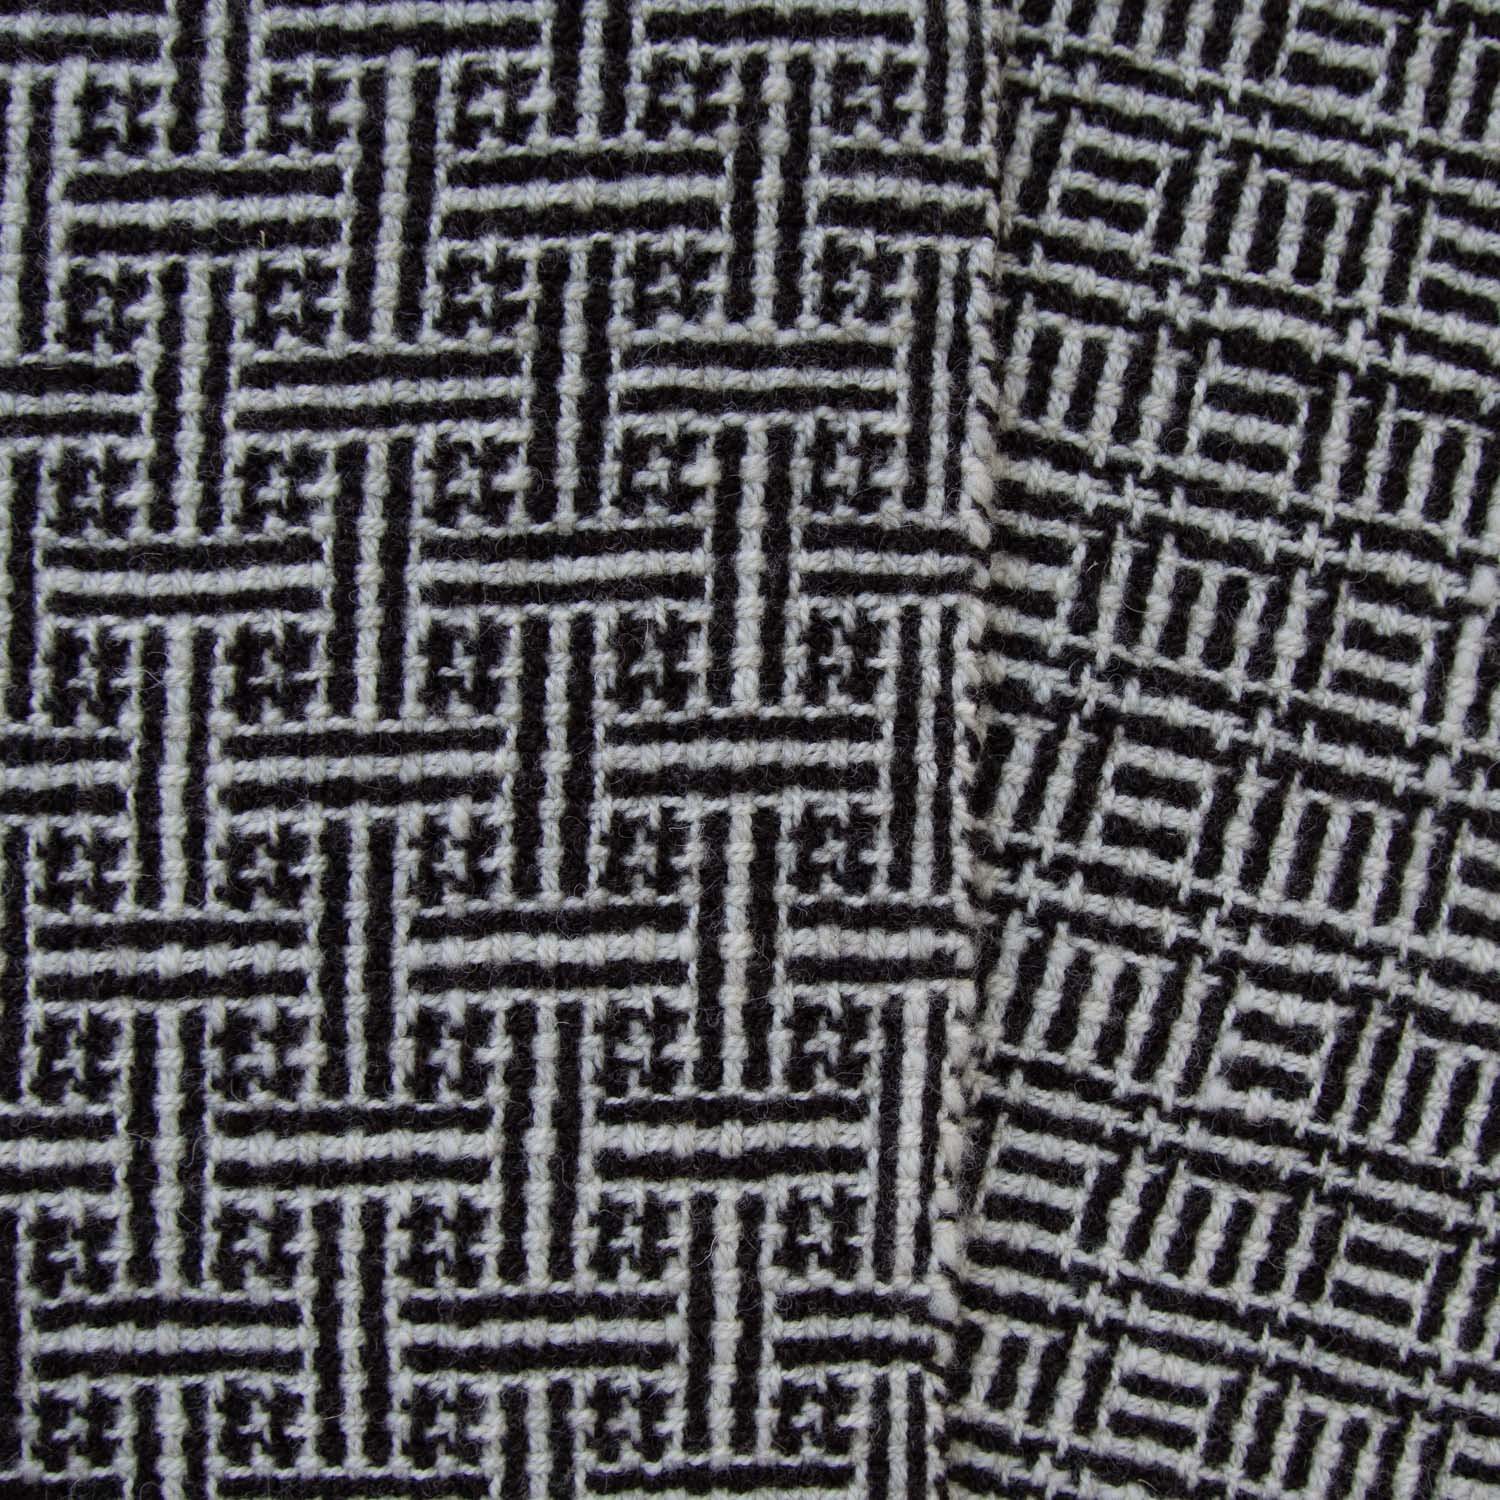
Here is a close-up of the fabric. I love the difference in the two sides of the fabric.

Black and white wool fabric on loom, very open threads in diamond pattern.

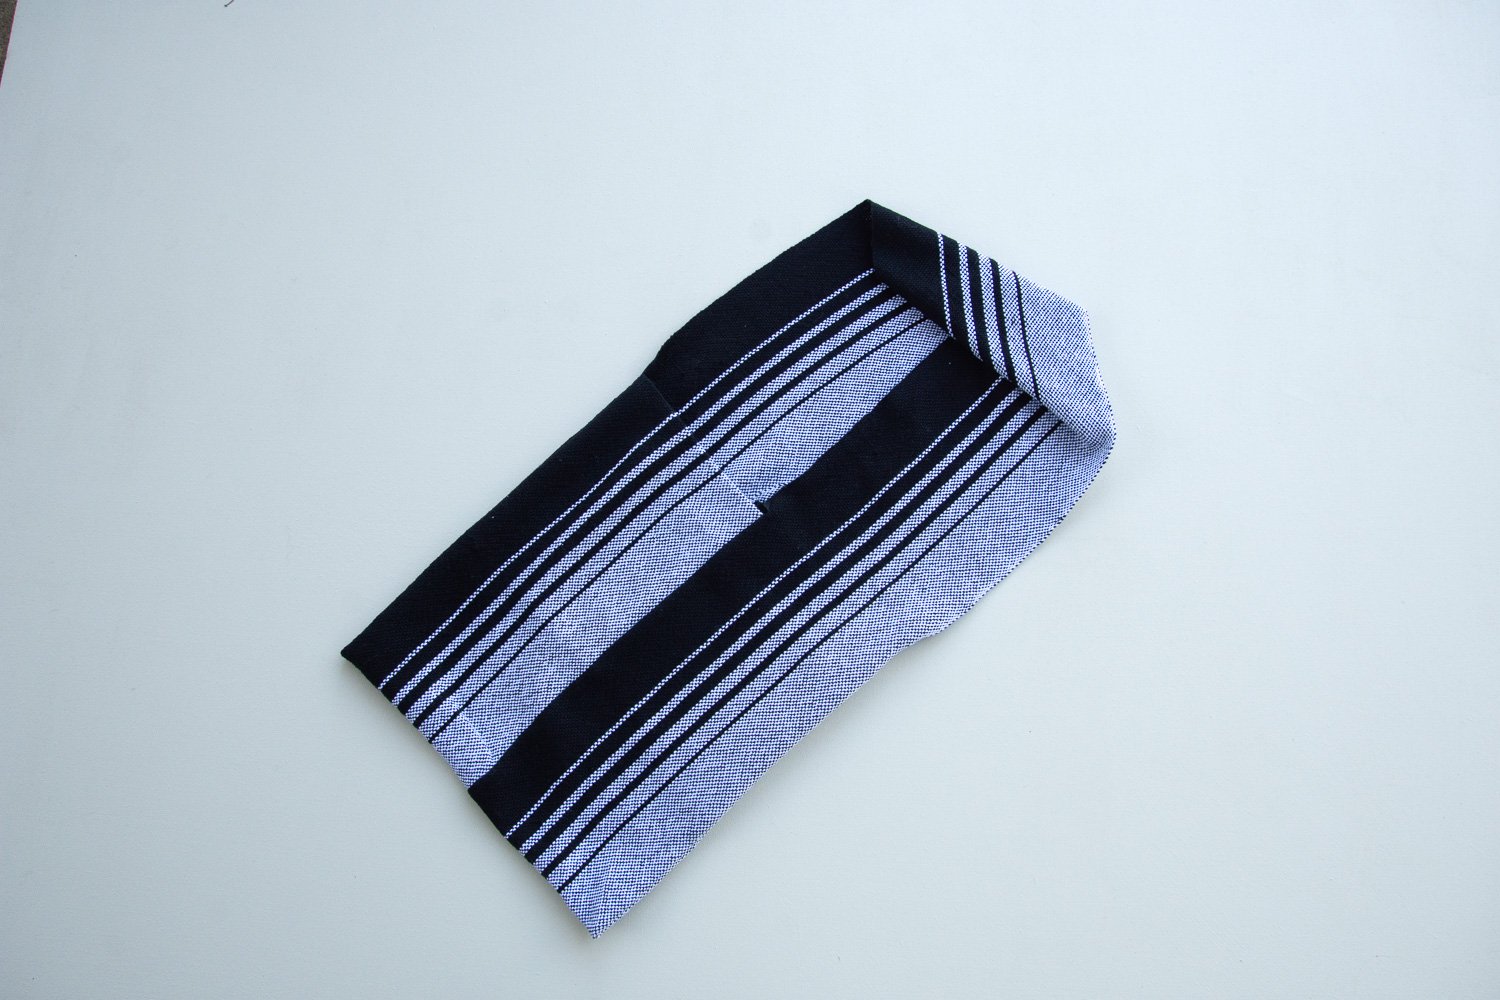
This is the last piece that I wove for the show. It uses the clasped warp technique, but on the floor loom instead of a rigid heddle.

I forgot to get a photo of this one before I set up the show so I took a quick shot at the Artery.

Favorite Black and White Weaving

I wrote this blog post just after Shades of Black and White opened at the Artery September 30. Monday, October 24 is the last day. Some pieces have sold. Of those that have not sold, some will be incorporated into my space in the main part of the store and the others will go on my website or the Artery’s webstore. I thought I’d share some of my favorites.

Off-white shawl with black geometric lines throughout.

This shawl is woven with my locally sourced Timm Ranch yarn except for the three black lines that are Jacob wool. It is a simple pattern, but time consuming. The design is woven on the loom as the weaving progresses.

White shawl with 3 black lines for design.

This is another one. Only a small portion is visible at any one time so it’s a bit of a challenge to keep track of where those right angle designs are happening as you go. .

This was a favorite 8-shaft pattern in 100% Jacob yarn. It is relatively easy to thread and to weave. The two sides look very different.

Handwoven piece in black, white, and gray showing pinwheels.

This is a draft that will produce pinwheels or many other interesting shapes.

This is another favorite. I’ve always liked this tumbling blocks pattern. Jacob yarn on a Timm Ranch wool warp.

Black and white striped shawl.

What about simple stripes? This is warped with alternating columns of 4 threads black and 4 threads white. The weave structure allows the yarns to open up when this is off the loom. Those stripes look like columns of beads. 100% Jacob yarn.

Detail of handwoven black and white blanket.

This was a new pattern for me and I like the movement in it. Jacob weft on Timm Ranch warp.

This is a bag woven of hemp. I didn’t find room for it in the show so it’s at home now. It will probably go on my sebsite.

Handwoven scarves with stripes and stars.

Another color and weave pattern. Both these scarves were on the same warp. They use 100% Jacob yarn.

Scarf with pattern showing in black and white and not showing in the black area.

This is the last piece I wove—two nights before the show opened. I was talking to someone when the idea of Clasped Warp came up. I had planned to weave a clasped warp shawl, but forgot until now. I had enough time to put on a scarf warp. The photo below is after finishing.

black and white scarf with diagonal pattern.

The joined warp threads are placed in a diagonal line to almost the far end of the warp. This is 100% Jacob yarn.

Shades of Black and White

For the last couple of months I’ve been weaving in black and white. For years I have thought about presenting a show at The Artery featuring black and white weaving. The Artery in Davis is an artists’ coop with 60+ members. It is set up like a regular store where we all have a small area for our own pieces. There is pottery, woodworking, art quilts, jewelry, paintings, gourd art, other fiber art, and more. There is one room known as the gallery where one or more artists can fill the room for their own show. With 60 members we obviously have to take turns. My turn came this October. When I found out a year ago that I’d have the show I wondered if I’d have enough to fill the room (although in the past I never had that problem), so I asked Jock Hamilton, one of the photographers at the Artery, if he’d like to share the space with black and white photography. It turns out that we could have both done our own shows with the amount of pieces we brought.

Garage with projects in progress to paint.

I wanted to give Jock most of the wall space since he would exhibit photos. I needed to figure out a way to display my pieces where they could be seen without just making a pile of folded textiles. I gave Dan the task of creating A-frames for me. I also brought home several of the wooden mannequins that needed re-painting.

The show was to be in place by Friday and I brought things in on Wednesday. Jock and I had a plan of sorts—that was to bring all of our things and see how they fit together. Hmmm…maybe not much of a plan. I needed to get things out of boxes and start spreading them out. I had to be home by 2 that day but returned later in the day when Jock could bring his photographs. We spent most of Thursday arranging things and I went back Friday morning to finish with signs and tags. Then I had to go to Lambtown in Dixon to set up my vendor booth for the weekend.

The following photos are how the gallery looks now. This show will be in place through October 24 and I hope many of my followers will be able to see it. Any items that are purchased may be picked up after the 24th or arrangements may be made for shipping. If you can’t get to the Artery but want to see most of the pieces here is a link with Jock’s photos and my woven pieces.

Baskets of wool and yarn with sign about processing fiber.

It seems that I turn everything into a learning experience. I added these baskets of wool and the sign to the table at the front. I wanted to somehow make people aware that I didn’t just go to the yarn store for all this yarn. Almost all of it is the wool from my Jacob sheep or the locally grown Timm Ranch wool that I have processed. I have handled every fleece before it ends up in the batch that is spun. Most of this is mill-spun but there are a few pieces woven of handspun yarn as well. There are also a few scarves woven of rayon chenille.

Sign that explains the color patterns of Jacob sheep

I also wanted to explain the name, Shades of Black and White, so I made this sign.

Handwoven fabrics in black and white in gallery show.

This is the first view of the show when you walk into this room.

Black and white woven blankets hanging on a wall with black and white photos.

Jock’s photographs are along most of the walls, but I hung a few of my pieces.

Black and white and gray handwoven shawls in front with black and white photos on the wall.

These are all v-shawls.

black and white photos on the wall with black, white, and gray shawl in front.

I should say something more about the photographs. They are fabulous views of mostly local landscapes. My photos of the photos can’t really show them, especially with the glare. Make sure you go to the link above to see them properly.

Black and white handwoven shawls on a rack.

This rack holds shawls and scarves. Two of these are chenille but the rest are all Jacob wool.

Black and white handwoven blankets.

Blankets that are woven with Jacob wool weft and Timm Ranch wool warp.

Handwoven blankets and shawls in black and white and gray.

Another view of blankets and shawls. Those pieces on the mannequins are mobius shawls.

Handwoven möbius shawls in black, gray, and white

You have to touch the textiles to feel how soft they are. I was certainly pleased with the Jacob wool the last couple of years.

I hope that a lot of people will see this show. It was quite an undertaking.

Learn to Weave a V-Shawl!

Are you a weaver and you’re looking for something to do on Sunday morning? Yes, this Sunday, September 19. You can attend my virtual class hosted by Lambtown, our local fiber festival which has gone virtual for the second time. You don’t have to be local to attend a virtual event. The class is only 3 hours but it will open up a lifetime of exploration for you. I’ve been weaving these shawls for several years, but in preparing to teach this class (and convert a 2-day in-person workshop to a 3-hour virtual one, I have spent hours and hours weaving and designing and now I wish I had even more time.

What is a v-shawl? Check out the examples below. It is a shawl that stays put on the shoulders and covers the back with a flattering design. When I’m finished getting ready for this class I’ll be putting a lot on the website for sale.

V-shawl-1049-Jolene-4.jpg

I don’t want to give away all the secrets here but I’ll whet your appetite with a few examples. The one above is handspun Jacob yarn.

DSC_3225.jpg

Here is a locally sourced very soft wool hand dyed by me.

1208_v-shawl--5.jpg

How about one in rich purple chenille? If you think about it this is a W-shawl and not a V-shawl. There is a story about that to be revealed in the class.

1217-V-shawl.jpg

This one is all natural colored, American-grown cotton yarn!

IMG_5110.jpg

Here are some happy students from back in the take-a-class-in-person days.

1187_v-shawl-1.jpg
1187_v-shawl-3.jpg

This is an example of several wool kits that are on the website now. The cotton kits will be added later. You can take this class without having your loom warped! You will have access to the video through the end of the year so you can sign up at the last minute and take your time with the weaving later. Register here.

Hope to see you there!

Learning to Weave

I started to offer in-person weaving classes again. I haven’t had live classes here since before the pandemic started. My “stay-at-home” started in October 2019 with a severe injury. (There are a lot of typos in that blog post and that’s because I I wasn’t using my hand very well and could barely type a complete sentence.)

Anyway, I started classes this month now that it seemed safe to do so. (With the new variant that seems more dangerous I have decided that people who come here for classes need to be fully vaccinated. As some of my friends and supporters have said, I used up a couple of my lives in 2019 and I don’t need more risk.) I want to share some class photos. I didn’t take that many photos but I am mostly busy talking/teaching when people are here. Besides I try not to be too intrusive with the phone/camera.

IMG_6721.jpg

Last Friday and Saturday there were four people here for Learn to Weave. The fourth is around the corner to the left of those shelves. Do you see the reason I ask people to be vaccinated?

IMG_6726.jpg

This is a small area and students are here for 7 hours or more. Besides when you are learning weaving or teaching weaving there are plenty of times when there is close personal contact.

IMG_6727.jpg

Learning to change the tie-up on the treadles.

Winding a bobbin.

IMG_6725.jpg

Students learn to read weaving drafts and have the opportunity to weave several patterns.

IMG_6719.jpg

They can try a variety of pattern and color combinations.

IMG_6728.jpg

This is someone who has figured out how to minimize loom waste!

IMG_6733.jpg

These are the four students in the first class. Two weren’t quite ready to cut their warps off the looms but finished later.

IMG_6731.jpg

Two days after this class I had three more students.

IMG_6756.jpg

People usually use my looms but in this class two people already had looms they could bring.

IMG_6759.jpg

Oops! I didn’t get a group photo of this class.

Today I two people came for a warping refresher. They have taken previous classes but wanted some supervision for a new project using finer yarns and a longer, wider warp.

Learn to Weave classes for the floor loom and the rigid heddle loom and classes in weaving a chenille scarf and a V-Shawl (double weave) are now posted on the website.

My Version of a Temperature Blanket

Maybe you have never heard of a Temperature Blanket. If you knit or crochet then it’s more likely that you have. They seem to be the rage or maybe it’s just that I have become obsessed now so I’ve spent a lot of time thinking about it. The idea is that you record the daily temperature using color in a knitted or crocheted piece. Coming at it from another direction, the temps provide a pattern with which to create a unique or personalized piece. Often people use this as an interesting way to create their project over the period of a year.

I don’t know if this is the origin of the idea but there is a Tempestry Project website. They state: “One of the ongoing problems inherent in discussions about climate change is the vast scale of the conversation. The Tempestry Project’s goal is to scale this down into something that is accurate, tangible, relatable, and beautiful. Tempestry Project blends fiber art with temperature data to create a bridge between global climate and our own personal experiences through knitted or crocheted temperature tapestries, or “Tempestries.” Each Tempestry represents the daily high temperature for a given year and location, January at the bottom and December at the top (think bar graphs!)”

My interest in this began when a customer came to buy yarn for her own blanket. I had just started carrying the new Ashford DK yarn and she thought that would be just right. It comes in great colors and is very affordable. Then I remembered that a friend had knitted a pair of Tempestry Banners to be donated to her favorite National Park for an exhibit about climate. My friend, Lisa, provided these photos:

20200916_171800_medium2.jpg

These banners are knitted using colors that represent the high temperatures for each day of 1916 and 2016. Beads along the right side indicate precipitation.

But wait! I’m a weaver. I want to weave a temperature blanket. There are a lot of factors to consider and it starts to get complicated. Here are some of the things I have thought about with ideas explained below.

  1. It’s one thing to knit or crochet a row each day for a year and keep the project in a bag. To weave a row each day that means that the loom is tied up on that one project for a whole year.

  2. Color range. Assign a color for every 5 degrees? Every 10 degrees?

  3. So far everything I’ve seen uses high temperatures. What about the lows? Aren’t they important too, not only for the discussion of climate change, but even if the intent is to lend an overall feel of how we experienced the year.

  4. Use temperatures for where you live? If you travel, use temperatures of where you happened to be each day? Or use temperatures of the year of someone’s birth or marriage or?

  5. What yarn?

I’ll give you the answers to some of these later. But first let me explain my thought process. I knew it wasn’t practical to tie up a loom for a whole year but I could do a project that covered a whole year. So for the first blanket I’d weave 2020 temperatures. I explored sources of temperature data made a chart.

I was already December 20 so I’ll have to look up numbers if I want to complete the chart for 2020. I made a similar chart for the lows. A knitted blanket starts at one edge (January 1 temperature) and works forward for 365 rows. With weaving I could use two sets of numbers because I am working with warp and weft. What if the warp was one set of numbers (low temps) and the weft was the highs? There are some issues with number of threads as it relates to the scale of the project and the size of the loom, but I’m still working on that. I wanted to move on to color.

I got out my colored pencils and assigned colors to temperature ranges of 5 degrees. That is 15 colors! Is that realistic? Maybe not for a couple of reasons. But I forged ahead. I photocopied the charts of highs and lows so that I could try out the colors.

This is not how the blanket would look because these months are shown with the days in columns. A woven project would be made with each of those days indicating one thread, either in warp or weft.

This is the chart with the lows for each day. Quite different! Next I thought about yarn. I had already decided that the new Ashford DK yarn would be perfect for this. I know that part of my business is in promoting our own locally grown fiber, and I do love the wool yarn that I am having spun by three U.S. mills (2 in California). But I don’t feel bad promoting this yarn—it is “locally produced” in New Zealand from sustainable New Zealand sheep farms and I think Ashford is a reputable company to support…and the yarn is very affordable and easy to use with a lot of color choices. It compliments my own Timm Ranch yarn very well. Here is the link to this yarn.

1173 sample-2.jpg

This is 12 of the colors that I chose for my initial sampling. I wanted three additional colors but they are backordered and will be here in a few weeks.

1173 sample-3.jpg
1173-sample-3.jpg

I wound a warp for some samples. I didn’t use a particular color order or specific number of threads. I wanted to see how the cloth would look if some of the stripes were as few as 2 threads (one day because it’s easier to wind warp in pairs) and some up to an inch. I used the same color order in the weft for two of the samples and I used two different weave structures.

1173-sample-4.jpg

Here is how the sample looks when woven in broken twill.

This weave structure alternates plain weave and twill picks and looks different on each side.

These samples are based on the assumption that there will be color changes in warp and weft. What about setting up an easier project where one direction uses a solid color?

1173-sample-5.jpg

This is the same warp woven in broken twill with black or white.

This sample uses that plain weave/twill pattern but with the solid black weft.

So there is a lot to think about in planning this woven project.

  1. Color changes in warp and weft. Too much going on? Will be more interesting if the lows are one direction and the highs are the other. A fun project to plan and weave.

  2. Color changes in warp with solid weft. All the planning and paying attention is for the warp. Easy to weave.

  3. Solid warp with color changes in weft. Easy to wind warp. Not as easy to weave with color changes. Stopping and starting yarn. Fulling these samples prevented loose ends from being a problem.

  4. Use fewer colors? I tried the same chart using 10 degree increments for color changes. That requires only 8 colors.

The highs in 10 degree color change increments.

The chart of lows in 10 degree color increments is above.

One reason for writing this blog post is to get all my thoughts in one place. Another is to generate some interest in this project (and maybe sell some yarn to be honest). Who wants to work on a color blanket or scarf or wall hanging? You don’t have to weave it. I’ll happily show my yarn to knitters and crocheters too. Here is one more idea for those who might want to do a little each day.

This yarn works great with the Schacht Zoom Loom and you can weave a square in 15 minutes. I am going to weave all the 2020 colors and put the blanket together as an example. Hmmm. 365 days x 15 minutes = 91.25 hours. Don’t hold your breath waiting for me to finish this one.

Look for future posts about the progress of this idea.